SQL Batch Move turn off SQL datatype guessing
We received the following information from a user:
Q: We’ve noticed an issue with the SQL Import (= SQL as Destination) – it appears that Limagito is attempting to guess the datatype, when this doesn’t match it fails to import – is there a way we can disable the datatype guessing?
Briefly the issues encountered:
1) In this example the import failed even though the source data was only 1 char long and table datatype nchar(1) – but that character was an N, what Limagito wanted to do was convert this to the word FALSE, I could see this after changing the table datatype to nchar(5). So it had assumed a boolean (conversely putting a Y in the field transformed it to TRUE)
6/11/2021 3:11:52 PM Batch Move Exception: [FireDAC][Phys][ODBC]-345. Data too large for variable [TapShift]. Max len = [1], actual len = [5] Hint: set the TFDParam.Size to a greater value
2) In this example the import failed as Limagito guessed this was a datetime field, it’s not – the table is setup to hold an nvarchar(10)
1/12/2021 1:56:18 PM Batch Move Exception: [FireDAC][Comp][DM]-607. Bad text value [B2523:1] format for mapping item [FurnPrep]. ‘B2523:1’ is not a valid time
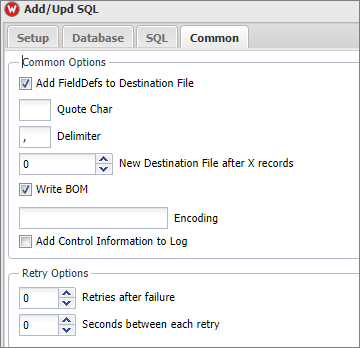
A: Some background information first. In version 2019.8.17.0 we added a Batch Move option which will take the data from the source (csv) file and will insert this data into the Database (= SQL as Destination).
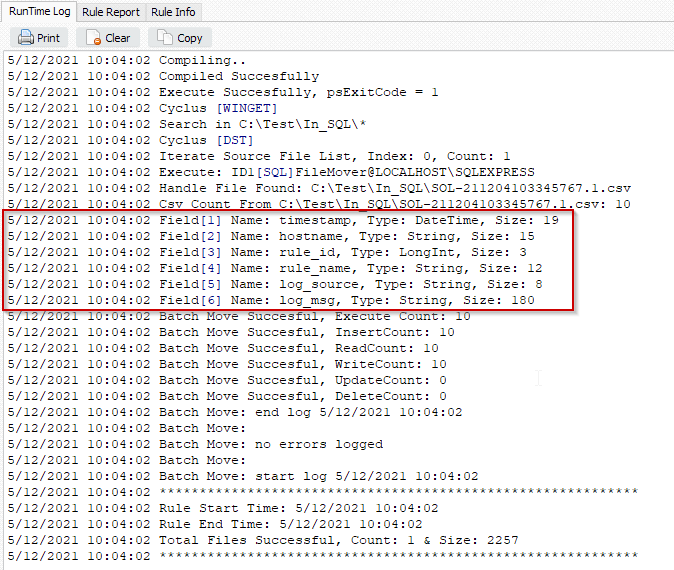
In version v2021.12.5.0 we added a ‘GuessFormat Override DataType by Field Names’ option. This option gives you the possibility to override the DataTypes we guessed. To help you we also added some extra information in the (RunTime) log which shows you the guessed DataTypes.
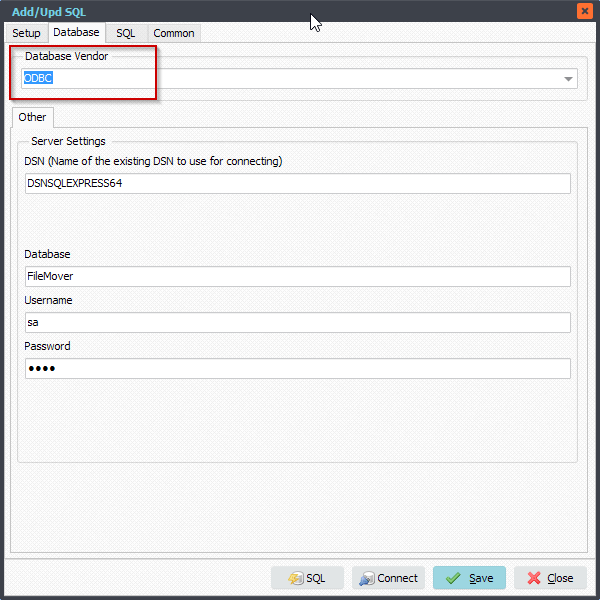
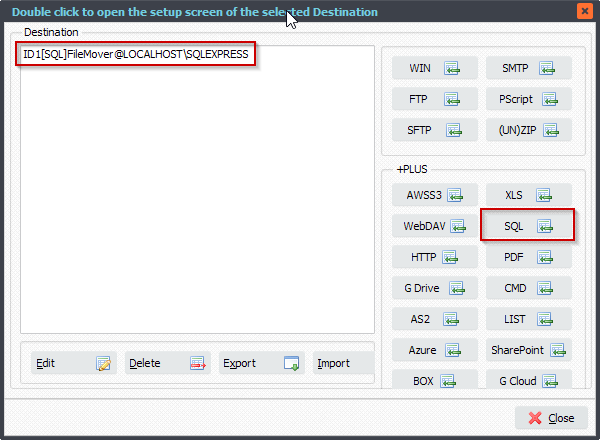
Where can you find this option? Open your Destination Setup. Select an existing or open a new SQL as Destination.
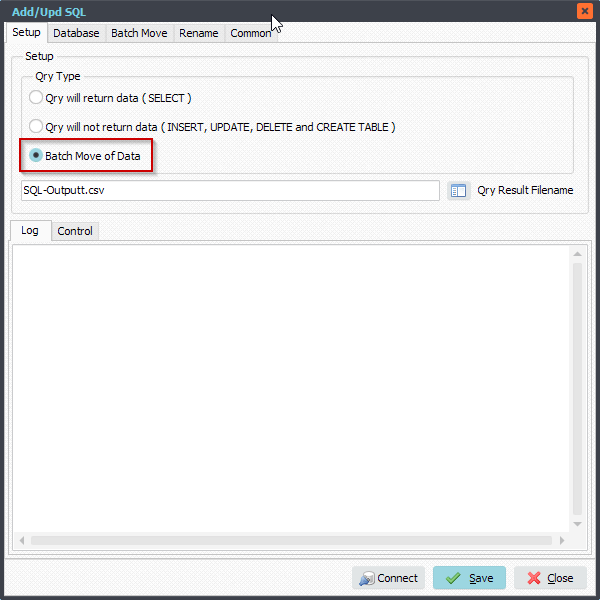
‘Batch Move of Data’ should be selected.
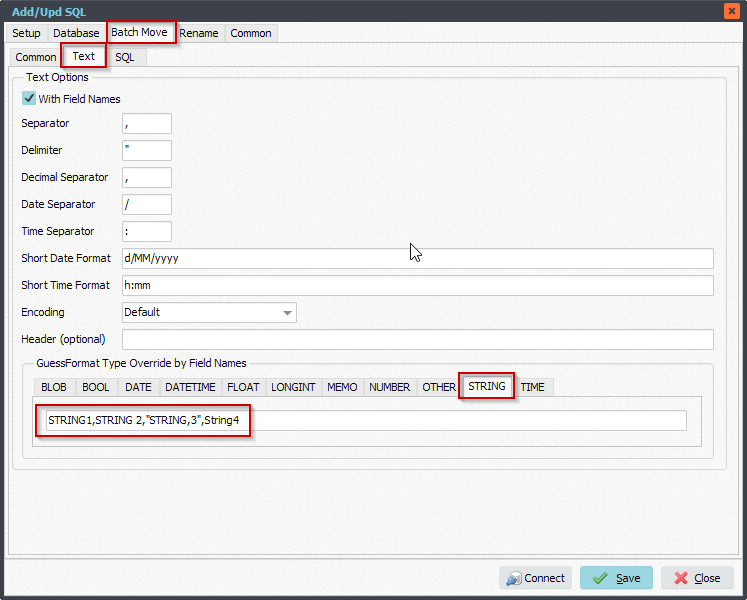
Select ‘Batch Move’ Tab > ‘Text’ Tab. Here you will find the ‘GuessFormat Type Override by Field Names’ option. You can enter the field name(s) for the data types you want to override. When adding multiple field names, you need to use a , (comma) to seperate them (important).
Enter Field Names which we should override. We are using CommaText to get or set these field names. The single comma-delimited string format is also known as the system data format (SDF). For SDF format, Field Names are separated by commas, and optionally enclosed in double quotes. Double quote marks that are part of the string are repeated to distinguish them from the quotes that surround the string. Commas that are not contained within double quote marks are delimiters. Two commas next to each other will indicate an empty string and will be ignored.
Suppose we want to override the following Field names:
Field1
Fie,ld2
Field 3
Field”4
Result as CommaText should be:
Field1,”Fie,ld2″,Field 3, “Field””4”
In the following screenshot we override the guessed DataType to STRING for the Field Names STRING1 – STRING 2 – STRING,3 – String4 found in the csv source file.
#FileTransfer
If you need any
info about this ‘how-to turn off SQL datatype guessing’ question, please let us know.
Best regards,
Limagito Team