Q: How to install limagito file mover
A: The product name is Limagito File Mover aka LimagitoX (hereinafter the “File Mover”).
The current version is v2025. Please download a recent version of the File Mover before you start with the installation.
32bit and 64bit (preferred) installers are available at:
- https://limagito.com/alternative-download-links-limagito-file-mover/
- https://limagito.com/file-mover-downloads/
Our File Mover can be installed on Windows 7 / 2008R2 and up (at present Windows 11 / 2025 and up).
If you doing an update then please check the following information first: link
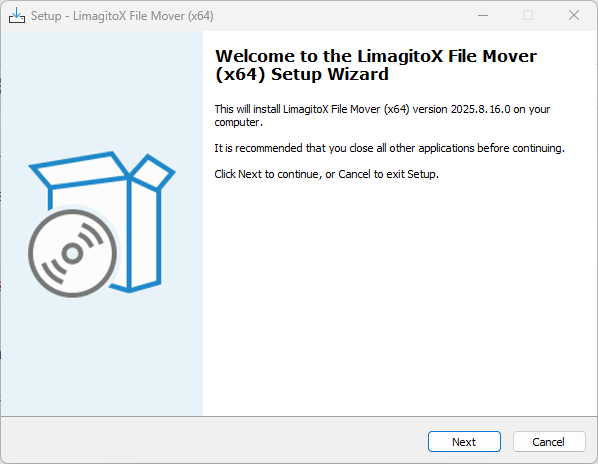
- Execute the setup after download. In the first setup screen you’ll see the version of our File Mover.
- We used the 64bit version of our installer.
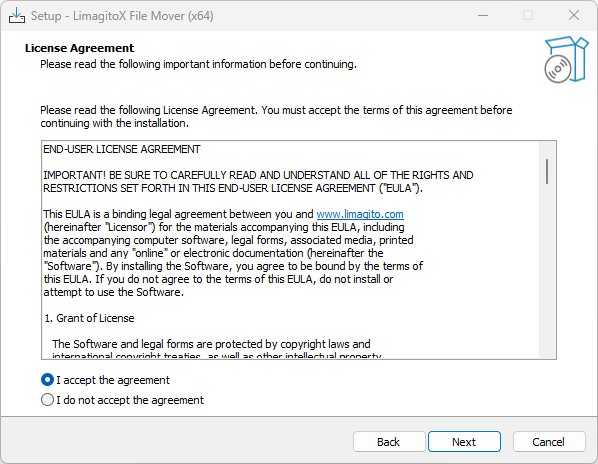
- In the next screen you’ll be asked to accept our license agreement
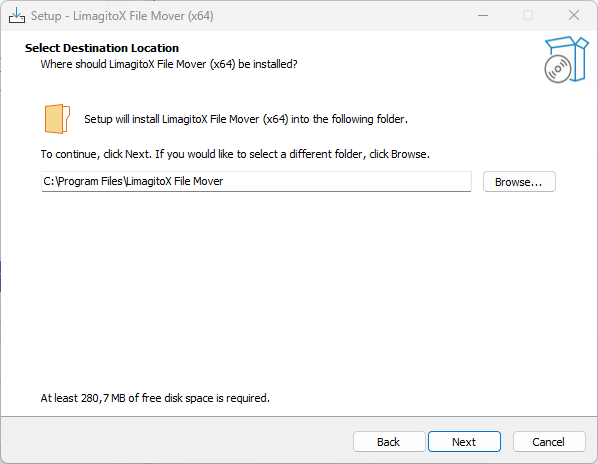
- In the next screen you can choose the installation directory
- Default directory = ‘Program Files’
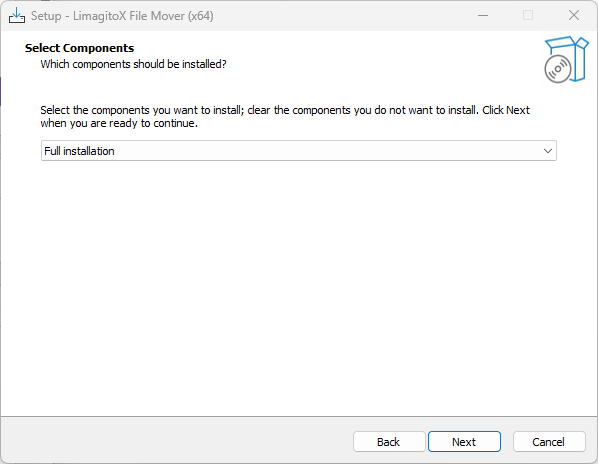
- At the moment only “Full installation” is available
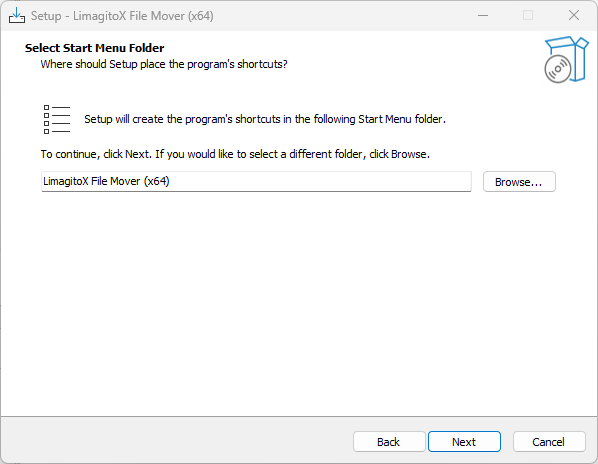
- In the next screen you can choose the name of the start menu folder
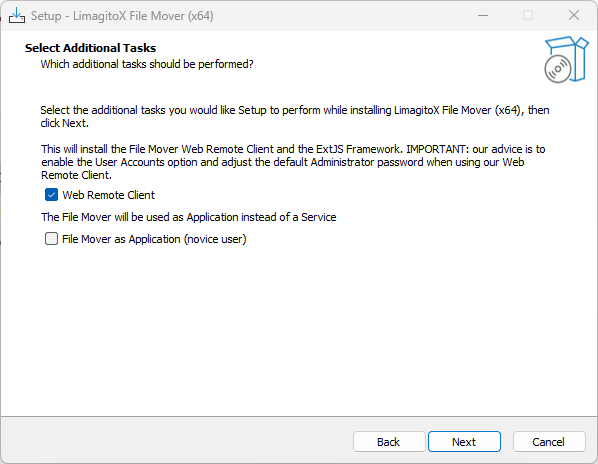
- Select Additional Tasks
- Please enable ‘Web Remote Client’ if you want to install our Web Remote Service (= Controlling the File Mover engine using a web browser).
- Please enable ‘File Mover as Application’ if you want to run our File Mover engine as Application instead of a Windows Service. In almost all cases you’ll leave this option unchecked and use the Service version of our File Mover engine.
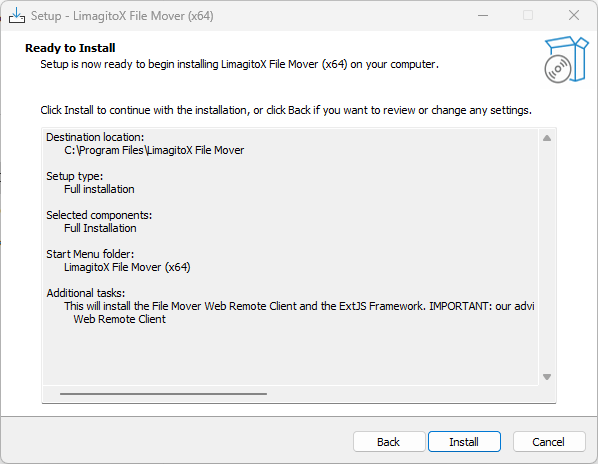
- Ready to install screen. Click “Install” to continue.
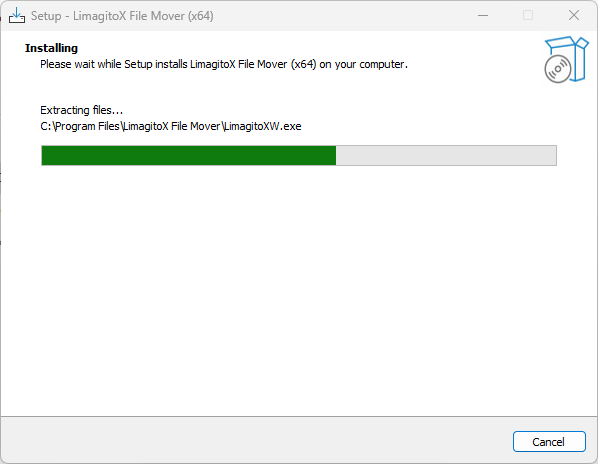
- Install in progress…
- When our ‘Web Remote Client’ previously was selected then we’ll start installing the necessary ExtJS Framework (uniGUI) here. This will give you the possibility to control our File Mover engine using a modern web browser like Chrome, Edge, Firefox, Safari.
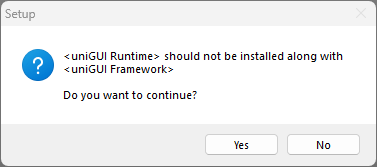
- After the ExtJS Framework is installed you’ll get the following screen
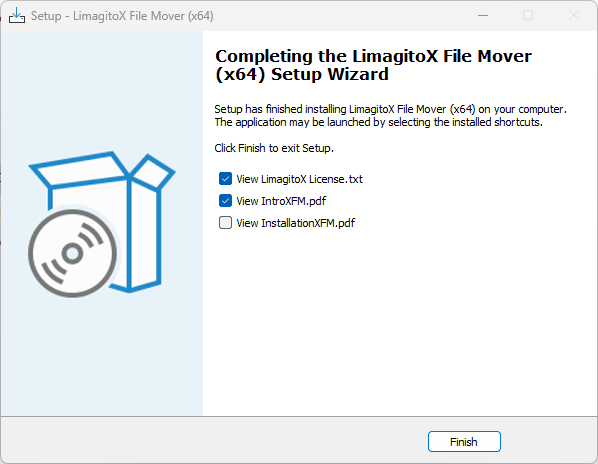
- Done, you have installed Limagito File Mover successfully!
- Regarding the License.txt file. Be sure to carefully read and understand all of the rights and restrictions set forth in our end-user license agreement (“EULA”).
- Before you start using our File Mover:
- Please read the Intro pdf file to get an idea of the concept.
- Please read the following file about installation and next steps: link
If you need any help how to install limagito file mover, please let us know.
Best Regards,
Limagito Team
#managedfiletransfer #filetransfer #filemanagement