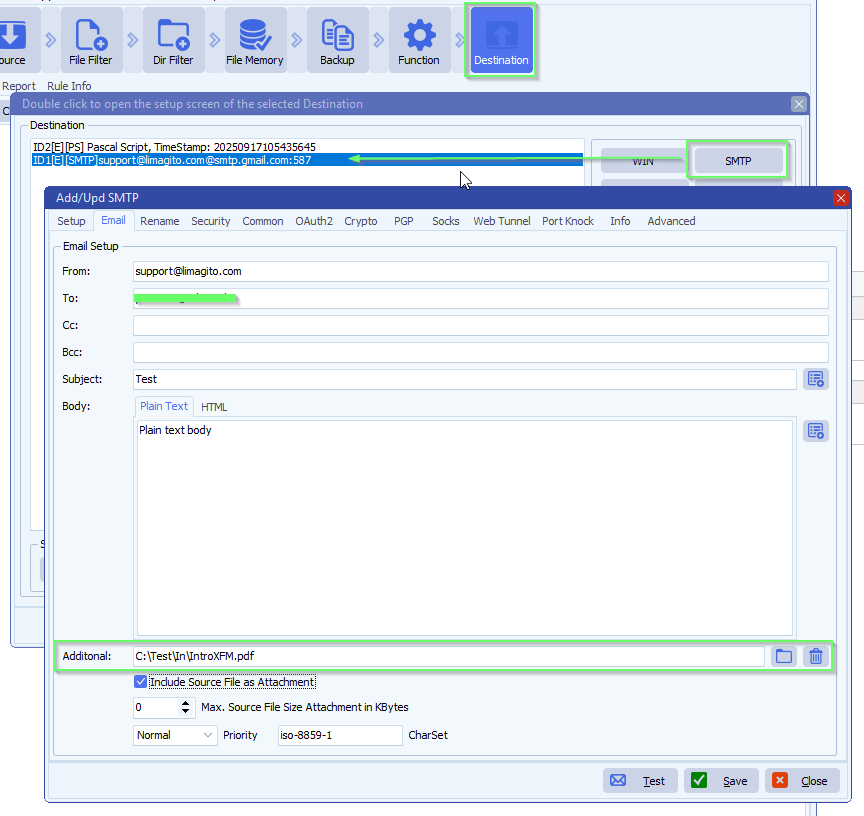
How to add an additional file with smtp as destination
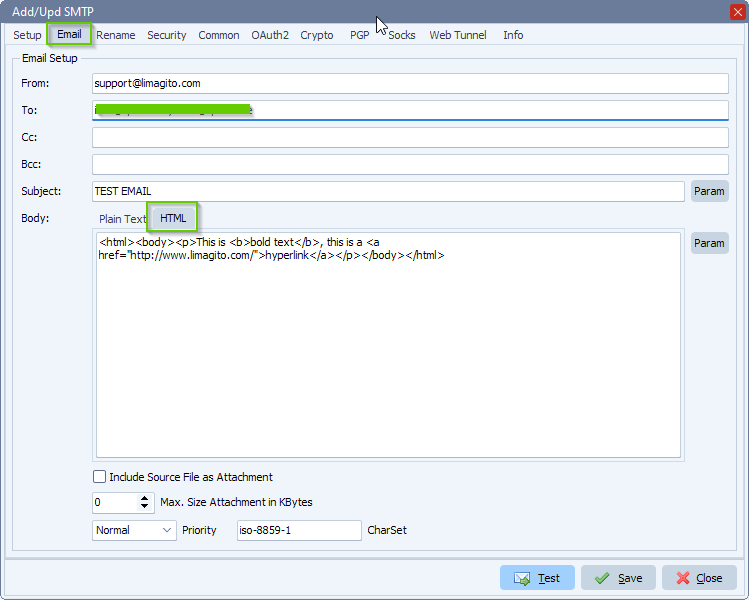
In version v2025.9.17.0 we added an option to add additional file(s) to the SMTP as Destination.
- This makes it possible for example to send a fixed ‘Terms and Conditions’ pdf file as attachment
- Double click on the Additional field to add multiple files
- Also string variables like %VSA .. %VSE can be used to make it dynamic
- The string variable can be adjusted using Pascal Script
If you need any help about this ‘additional file with smtp’ option, please let us know.
Best Regards,
Limagito Team
#smtp #managedfiletransfer #filetransfer #filemanagement