Office 365 SMTP OAuth2 Client Credentials Authentication with Certificate Authentication
For use with Limagito File Mover requiring app-only SMTP access
We recently added SMTP authentication using a private key file to our ‘SMTP as destination’ option. We did this already with Azure and Sharepoint.
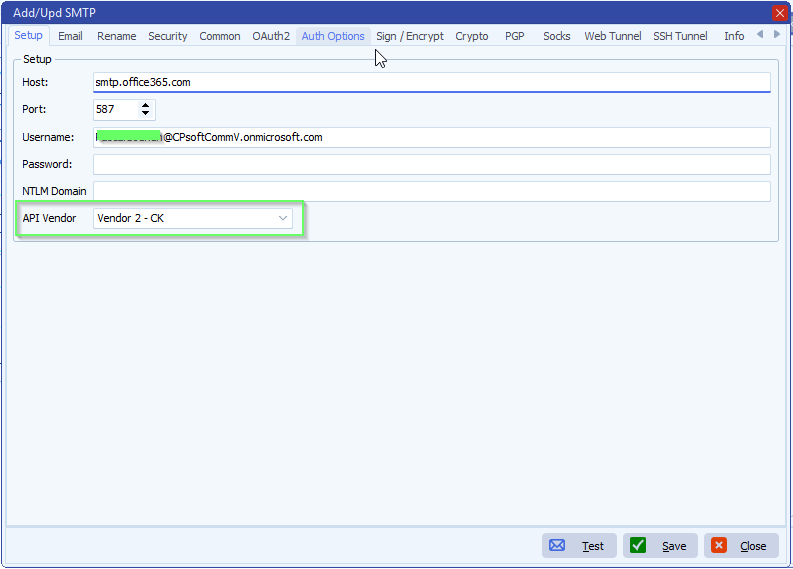
- Destination Setup > Add <SMTP>

- Be sure to use Vendor 2 – CK
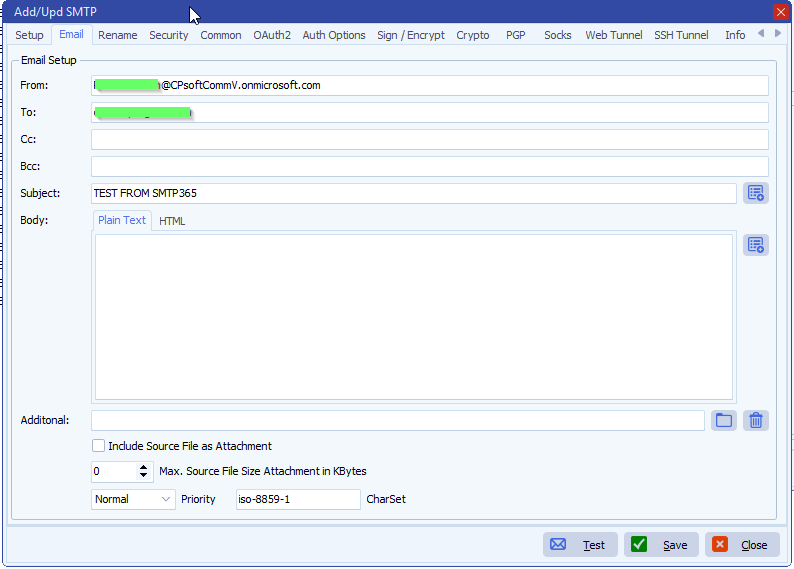
- Email setup:
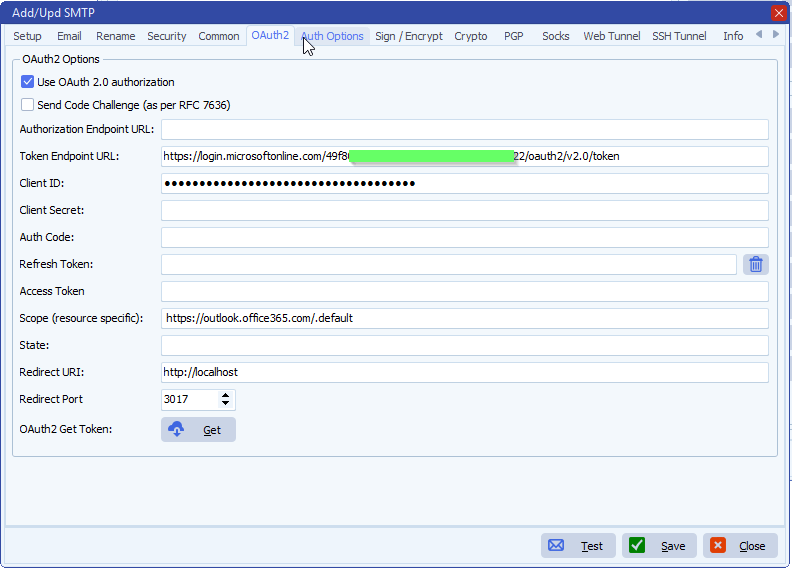
- OAuth2 Setup:
- If you prefer to use a Client Secret instead of a Certificate then you need to add it here
- We left the Client Secret blanc because we are going to use a Certificate
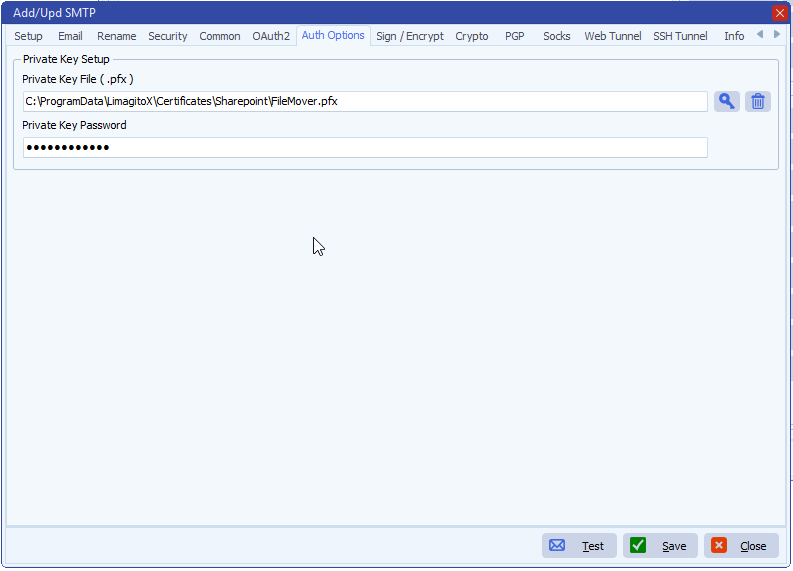
- Authentication options:
- Add your private Key File (.pfx)
- Add password if needed
- How to create a self signed certificate using PowerShell
- Next ‘IMPORTANT’ steps:
– Some Azure Screenshots used in the previous document:
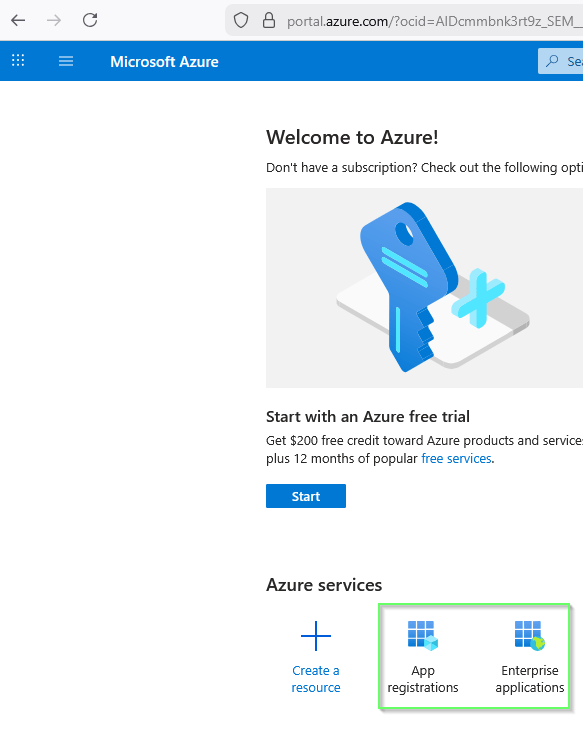
- Azure App registrations:
- Add a new registration here
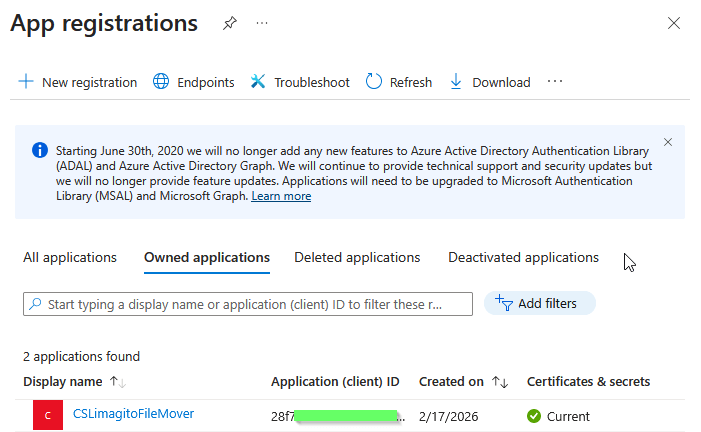
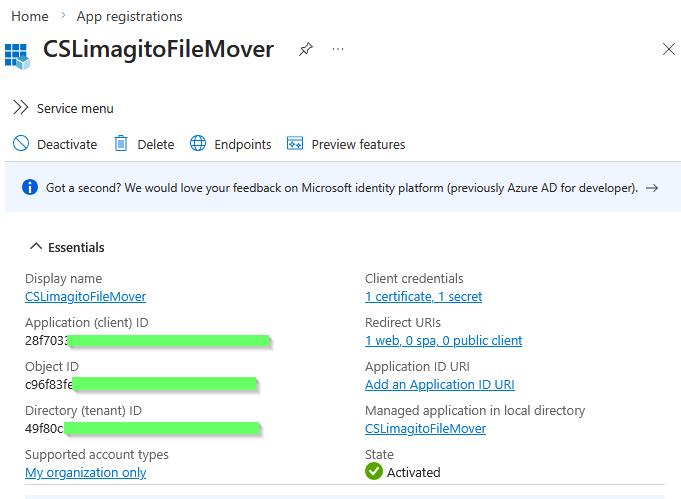
- Application (client) ID and Directory (tenant) ID will be needed in the SMTP OAuth2 setup.
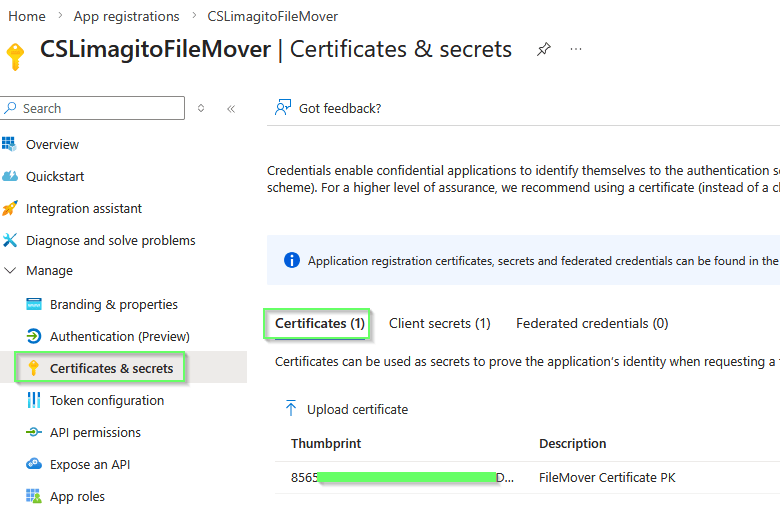
- Azure App registrations > Certificates & secrets
- We used a Certificate but also a Client secret is possible, this is up to you.
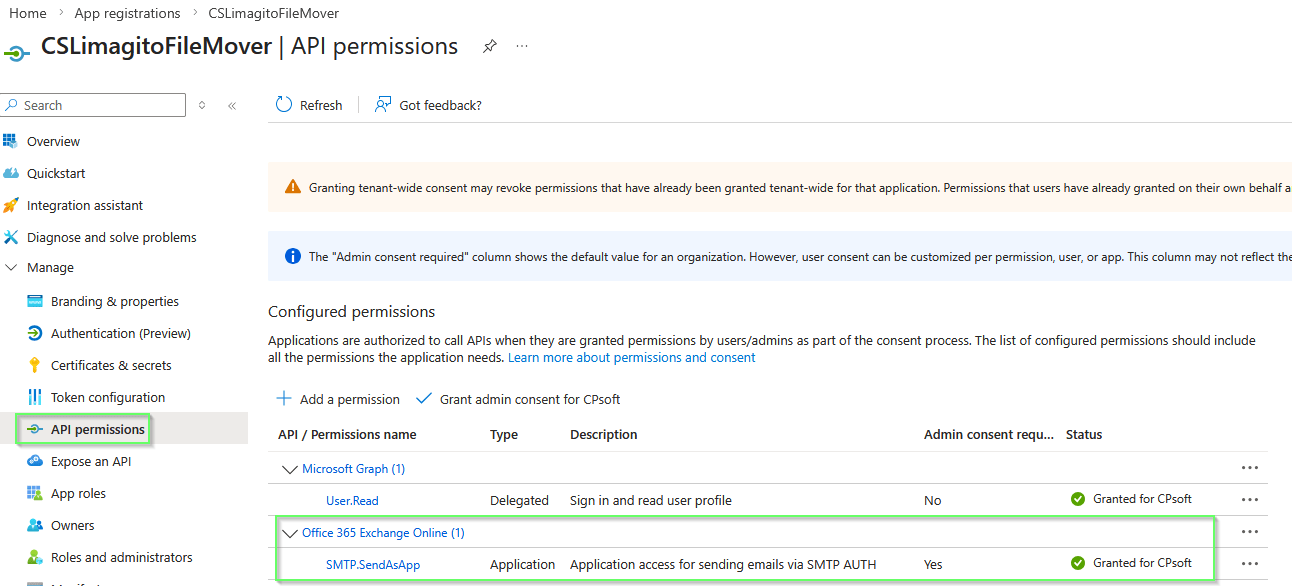
- Azure App registrations > API permissions
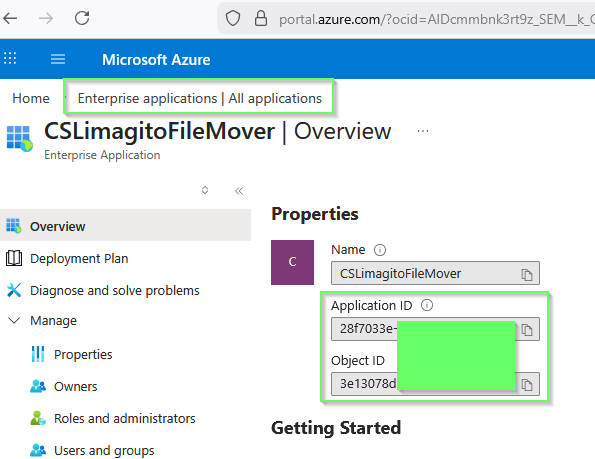
- Enterprise applications
- Your App registration will be available under ‘Enterprise applications’
- Application ID and Object ID will be used in the PowerShell commands of the Setup Guide.
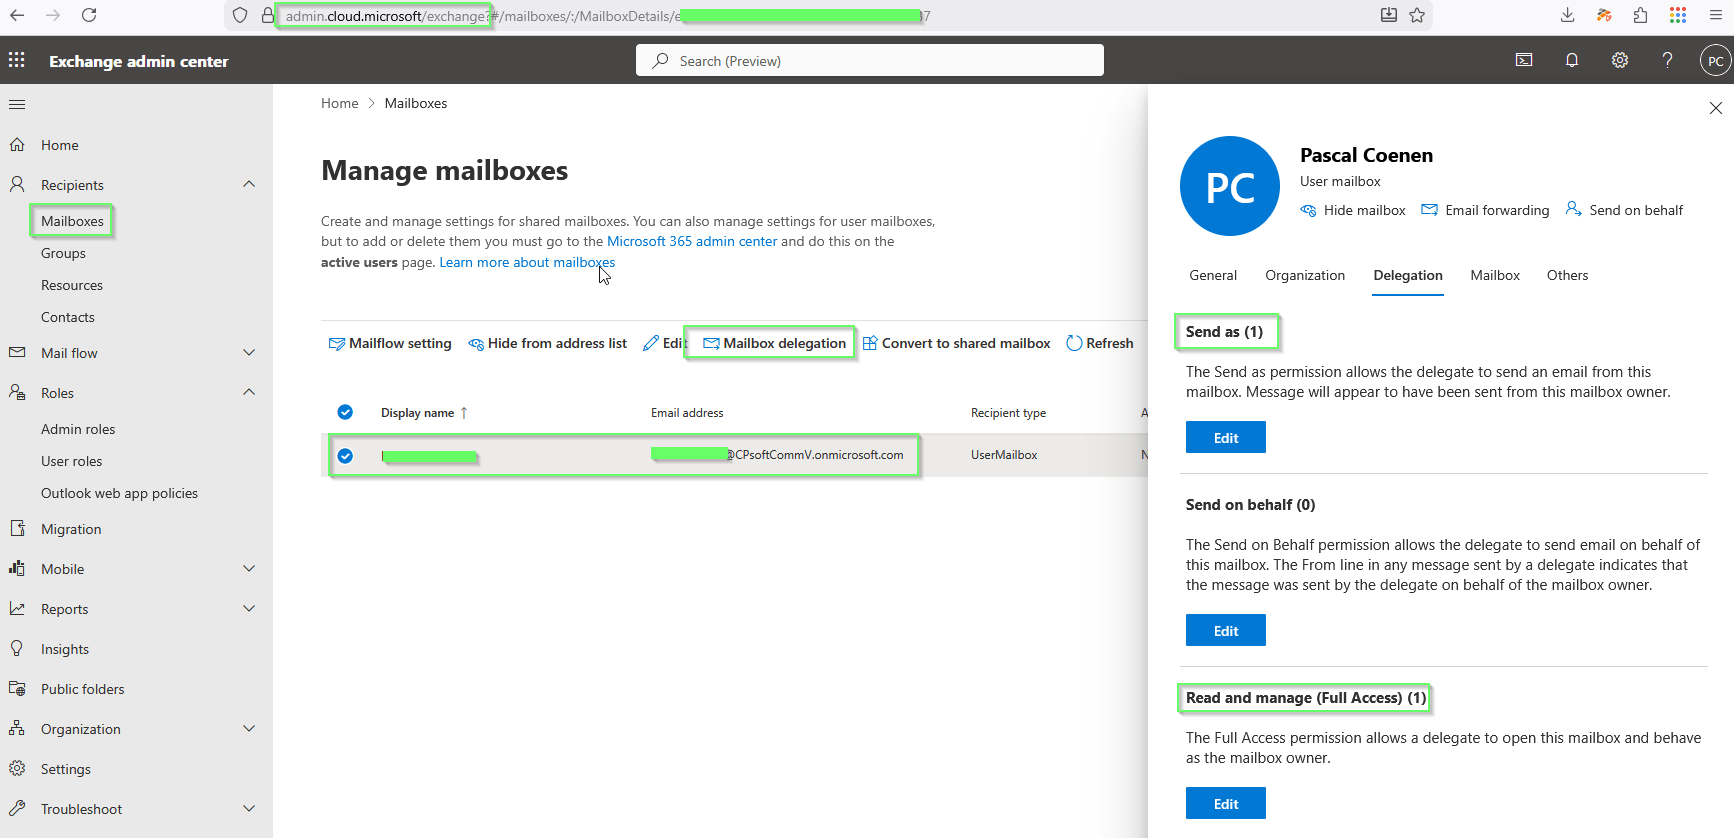
- Exchange admin center > Recipients > Mailboxes
- After using the PowerShell commands you should see
- Send as (1)
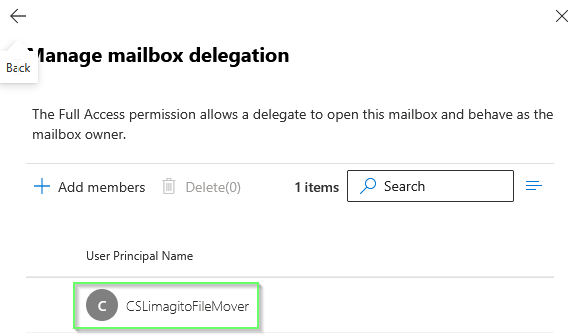
- Read and manage (Full Access) (1)
- They both should contain a reference to the App registration used
- After using the PowerShell commands you should see

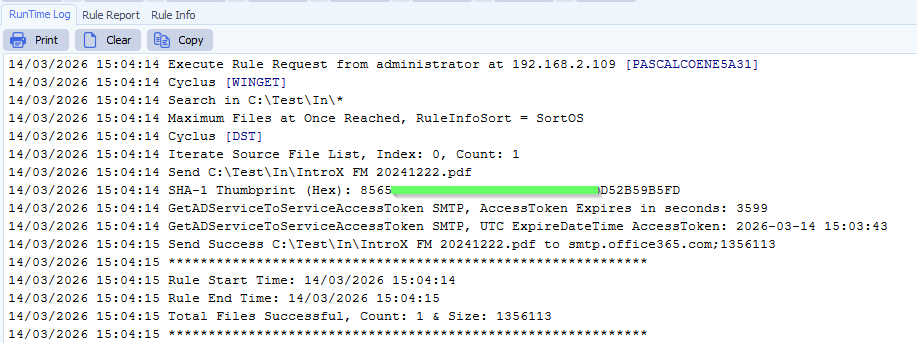
- RunTime Log Result:
If you need any help with this ‘SMTP OAuth2 Client Credentials Authentication’ setup, please let us know.
Best Regards,
Limagito Team
#smtp #filemover #managedfiletransfer #filetransfer #filemanagement