Q: Need more Details on Limagito Application. We were evaluating the Limagito File Mover application and are very much interested to implement it in our IT system. We need your help to get below info so that i can discuss with our Management on Limagito implementation.
1) Do you have the minimum system requirement/Benchmark for Limagito application? We have 1000s of files that moved on daily basis in our IT system.
This depends on the amount of rules and options you are using. When you only have a couple of rules then our requirements won’t be much. Sometimes users start with a couple of rules but end with a couple of hundred so our advice is to use a server with at least 8GByte RAM. We prefer a bit more because the OS itself often takes quite a bit. Sometimes some extra services are running. Our File Mover uses threads heavily so 4 cpu cores is an absolute minimum. Our advice is to increase these to at least 8 cores. FYI, when you have 200 rules who are triggered regularly (which is not abnormal, we have users running +/- 400 rules) then this means that you are running 200 small applications. So you need quite some power (core, memory and disk speed).
2) How many interfaces/rules can be created in Limagito? is there any limitation? How many threads/Rules can be executed in parallel/Simultanious?
Our advice is to use a maximum of 400 rules per instance of our File Mover. If you need more, please install a second instance of our file mover.
3) What is the license cost of Limagito application?
4) What is the support cost & SLAs of Limagito application?
Support is included in the Licence (1 year for Single+ and Site+, 3 years for Corporate+ License type)
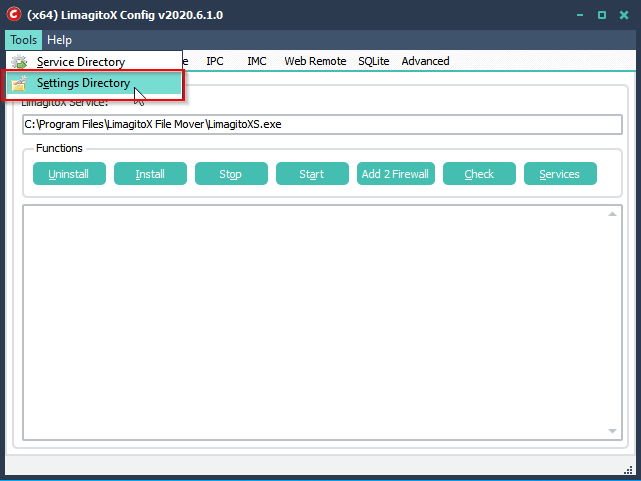
5) Do you have any sort of documentation that we can refer to?
https://limagito.com/file-
We also can give a demo (remote) of our file mover where we show you the basic setup (+/- 1 hour).
6) We downloaded the evaluation copy and we could not test it more by creating multiple rules. Can you provide us temporary license for limited period so that we can try creating more rules and test it?
No trial license available due to bad experiences in the past. You can start with a Single License and upgrade later to another type of License (only the difference needs to be paid).
7) Do you have your prime customer list who implemented the Limagito application? and the total cutomers who implemented that?
We will never share any information about our customers.
8) What known problems Limagito application has?
Like every software, also we write bugs. The history of the different version are available here: https://limagito.com/
If you need more details, please let us know.
Regards,
Limagito Team