Howto: “Using multiple instances of Limagito Filemover, version v2017 and higher”
- Open Program Folder of Limagito X File Mover
- C:\Program Files\LimagitoX File Mover or C:\Program Files\LimagitoX File Mover (x86)
- Copy and rename the following files
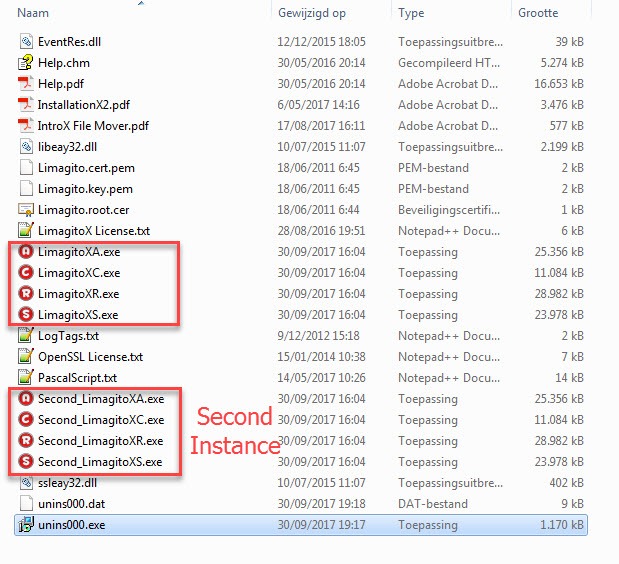
- LimagitoXA.exe
- LimagitoXC.exe
- LimagitoXR.exe
- LimagitoXS.exe
- LimagitoXW.exe
- Important about the rename: you MUST add a PREFIX to the original filenames.
- ! Do NOT use a dash or space !
- In the example below I’ve added “Second_” as prefix.
- Second_LimagitoXA.exe
- Second_LimagitoXC.exe
- Second_LimagitoXR.exe
- Second_LimagitoXS.exe
- Second_LimagitoXW.exe (be sure to use a different port for the second Web Remote instance, default is 8077)
- Now your second instance is ready.
How To use the second instance of the File Mover:
- Use Second_LimagitoXC.exe to start the config tool of the second File Mover instance:
- Import the license file
- Install the File Mover Service
- Adjust the ‘Logon As’ user of the second File Mover instance (services.msc)
- Optional: Install the Web Remote Service (different Tab)
- Optional: Adjust the ‘Logon As’ user of the second Web Remote instance (services.msc)
- Start the File Mover Service
- Use Second_LimagitoXR.exe to start the Remote Tool of the second File Mover instance:
- Connect to the second File Mover instance running as Service
If you need any help with the ‘multiple instances’ setup, please let us know.
Best Regards,
Limagito Team