Configure Amazon S3
Steps in AWS Console
- Log in to the AWS Management Console (console.aws.amazon.com)
- Go to IAM (Identity and Access Management) — search for it in the search bar at the top
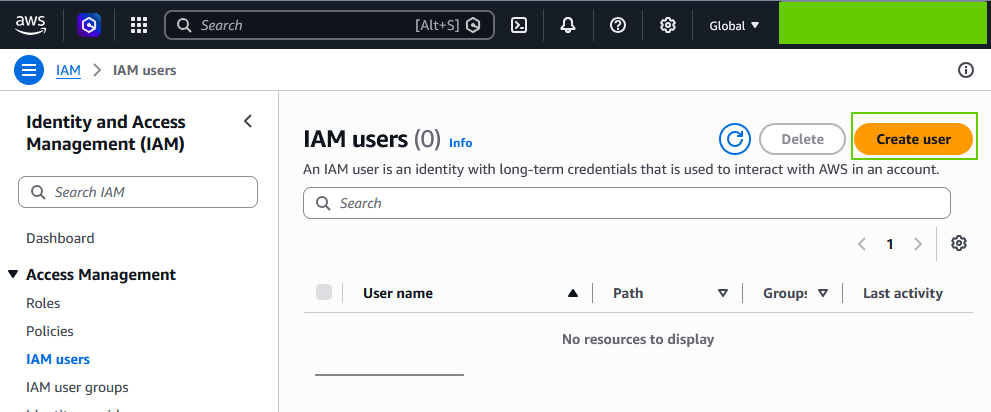
- Click on IAM users on the left
- Choose an existing user, or create a new one (Add users) specifically for your filemover tool
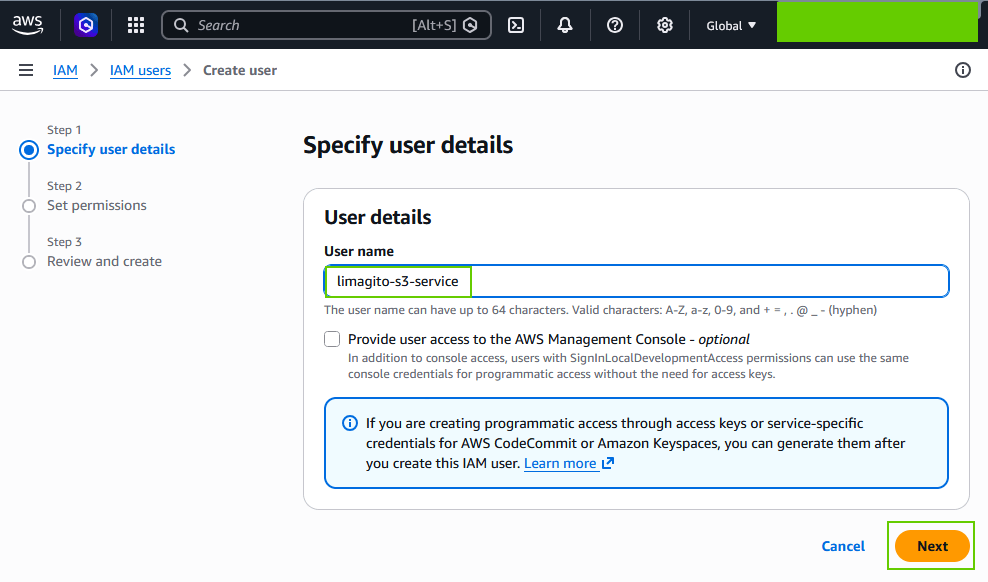
- Give it a clear name, e.g.
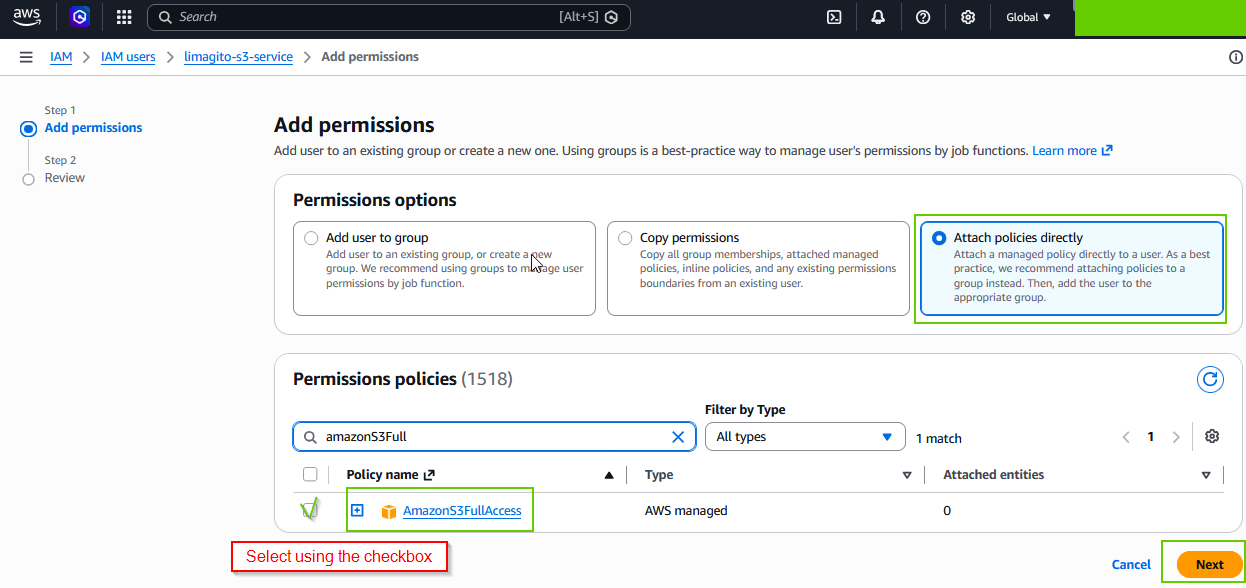
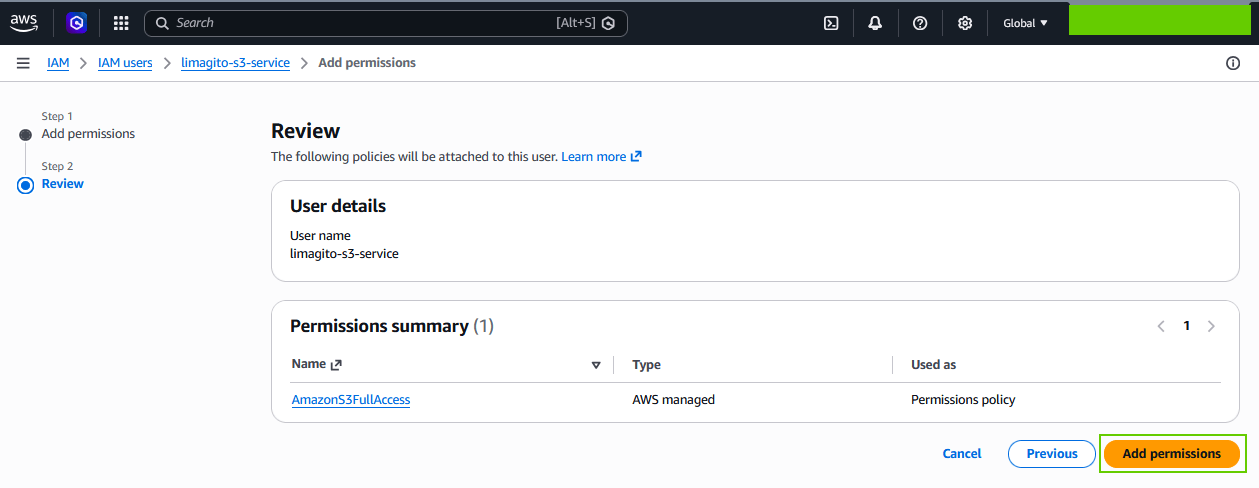
limagito-s3-service - Under “Set permissions” we used AmazonS3FullAccess during our tests, or better yet a custom policy that only grants access to the specific bucket you need (safer, principle of least privilege)
- Give it a clear name, e.g.
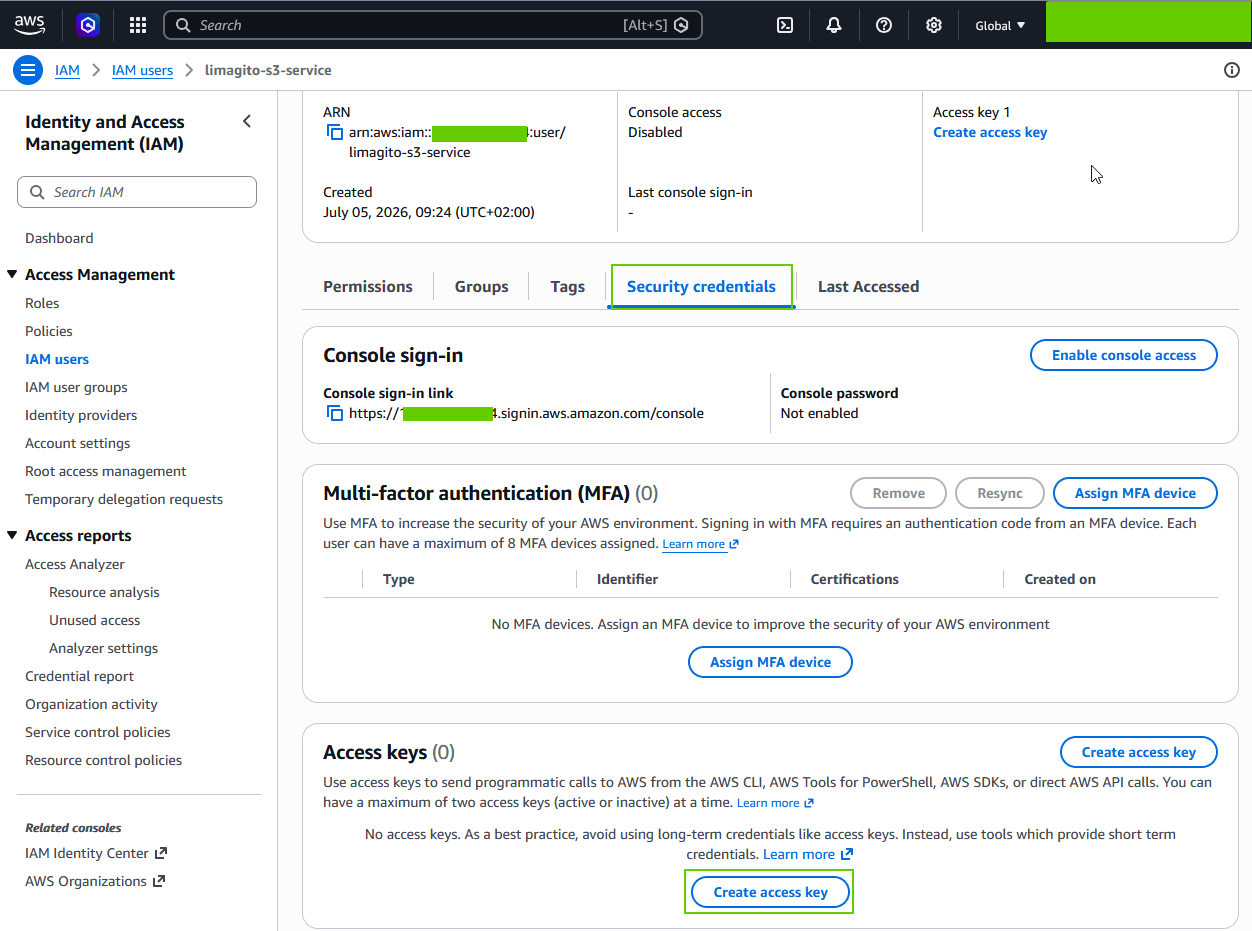
- Go to the Security credentials tab of that user
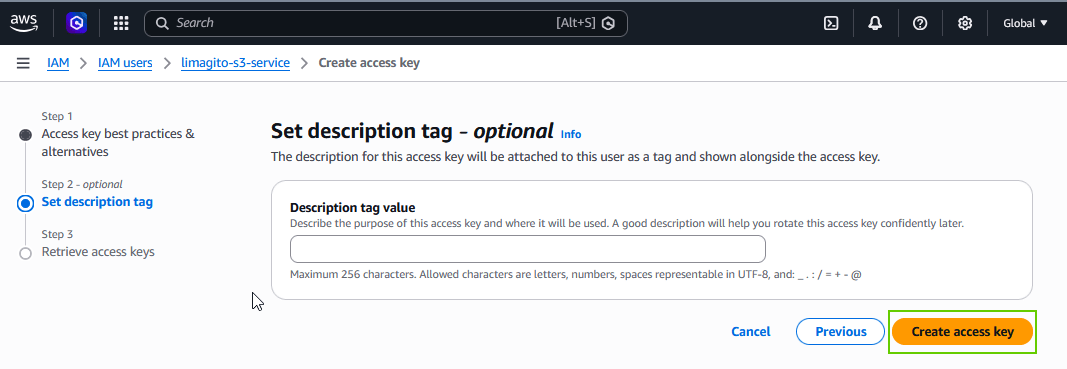
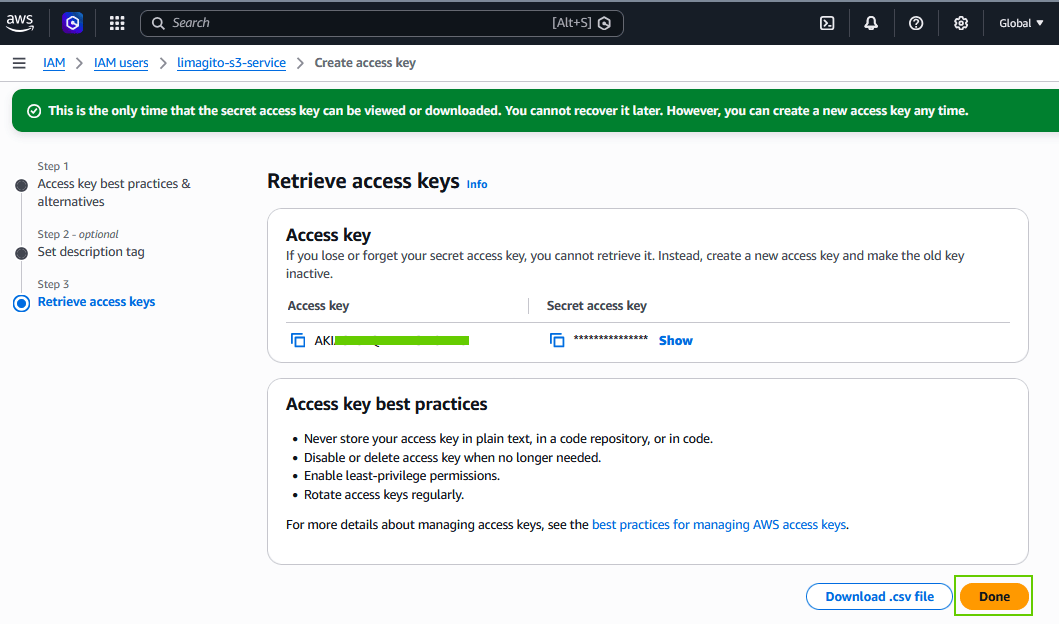
- Scroll to Access keys → click Create access key
- Choose “Other” as the use case
- AWS will then show you:
- Access Key ID → enter this in Key ID in your tool
- Secret Access Key → enter this in Access Key in your tool ⚠️ Important: the Secret Access Key is only shown once. Copy it immediately, or download the .csv file AWS offers. If you lose it, you’ll need to create a new key.
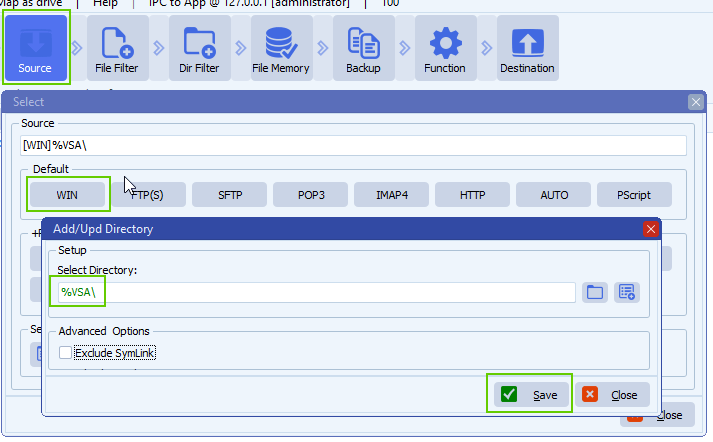
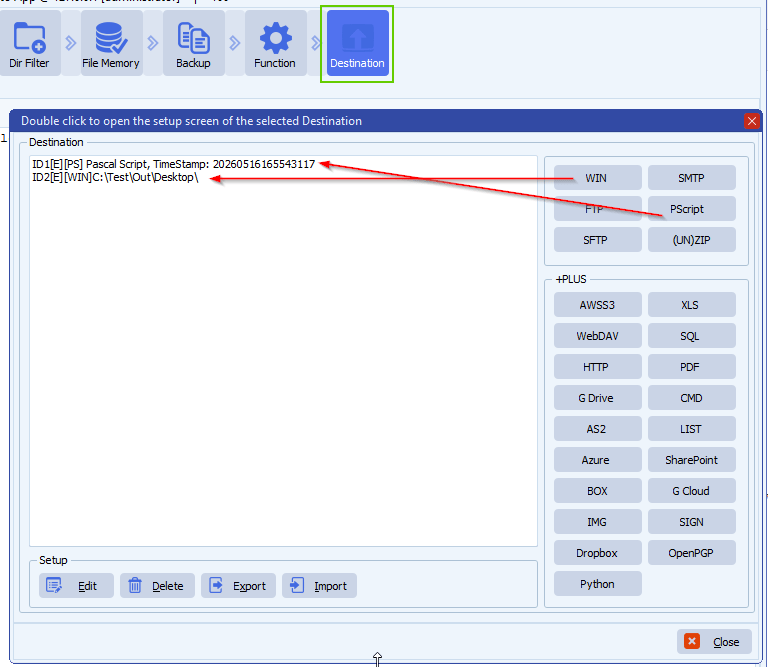
Some screenshots form our test setup:
- We used AmazonS3FullAccess during our tests, or better yet a custom policy that only grants access to the specific bucket you need (safer, principle of least privilege)
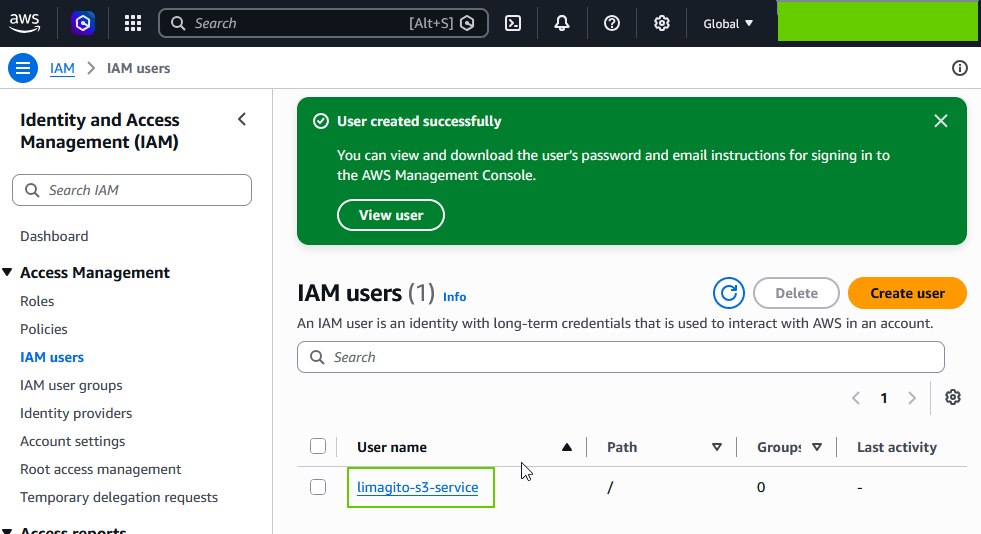
- User created successfuly
- Create Access Key within “Security Credentials” setup:

- Done
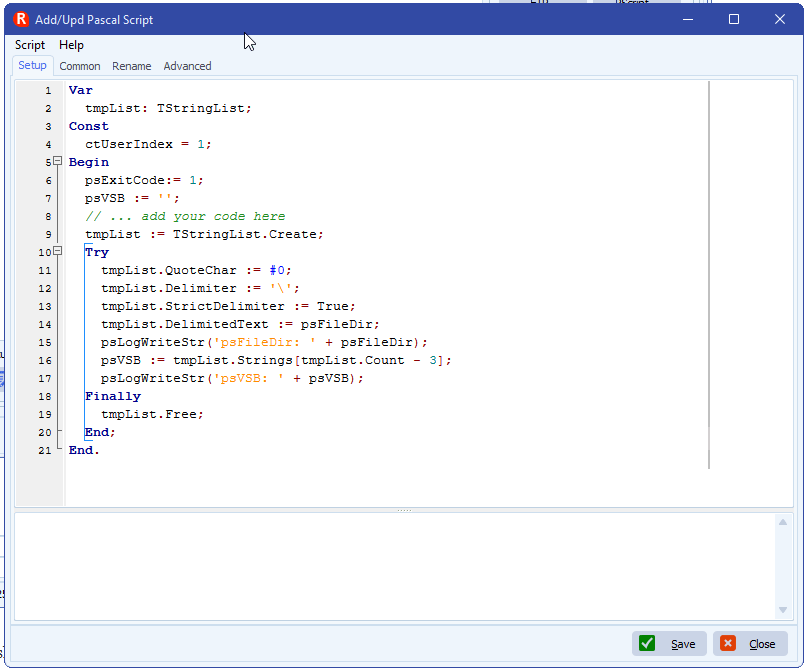
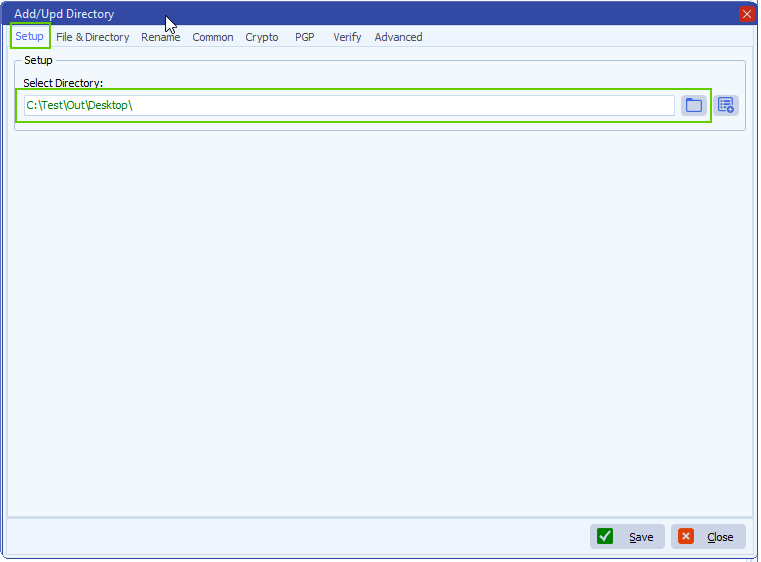
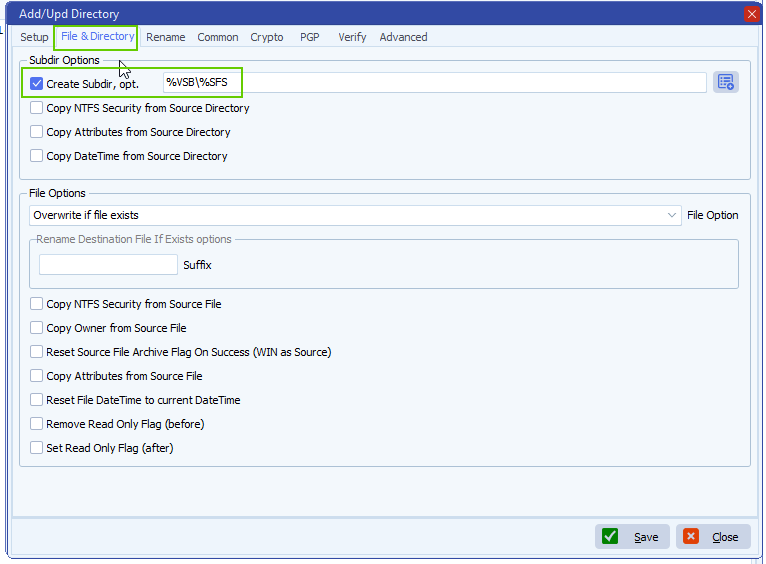
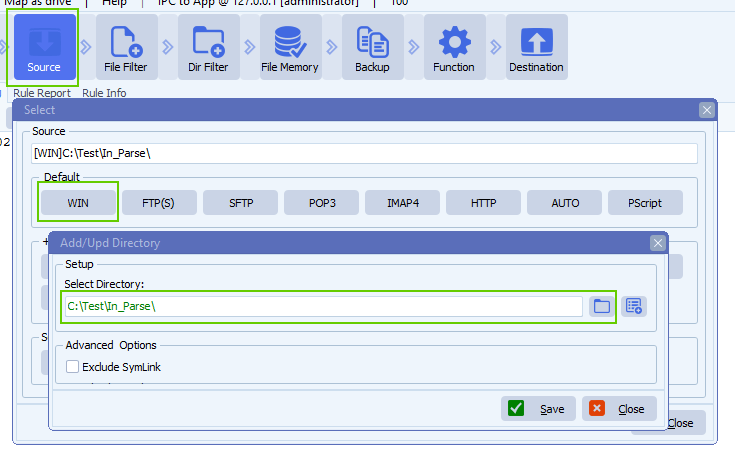
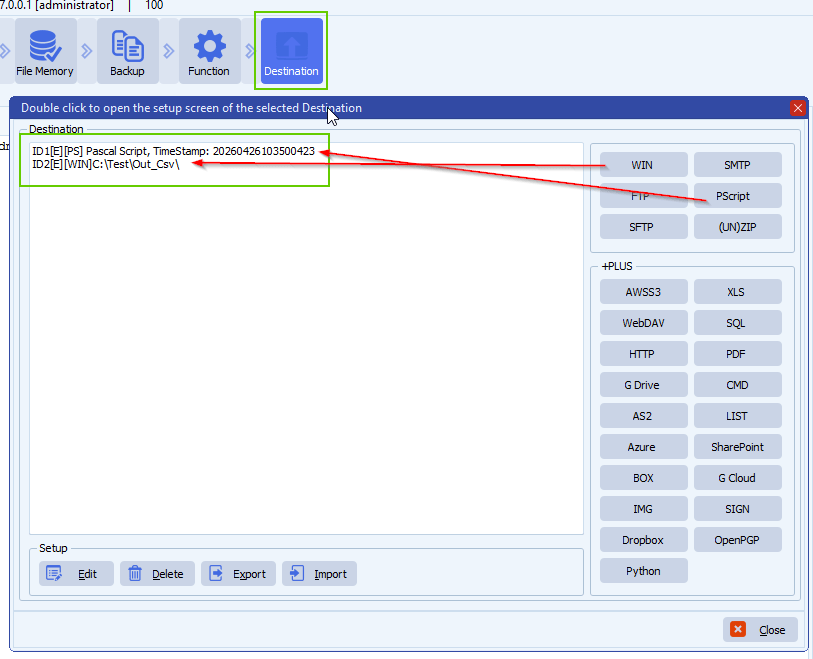
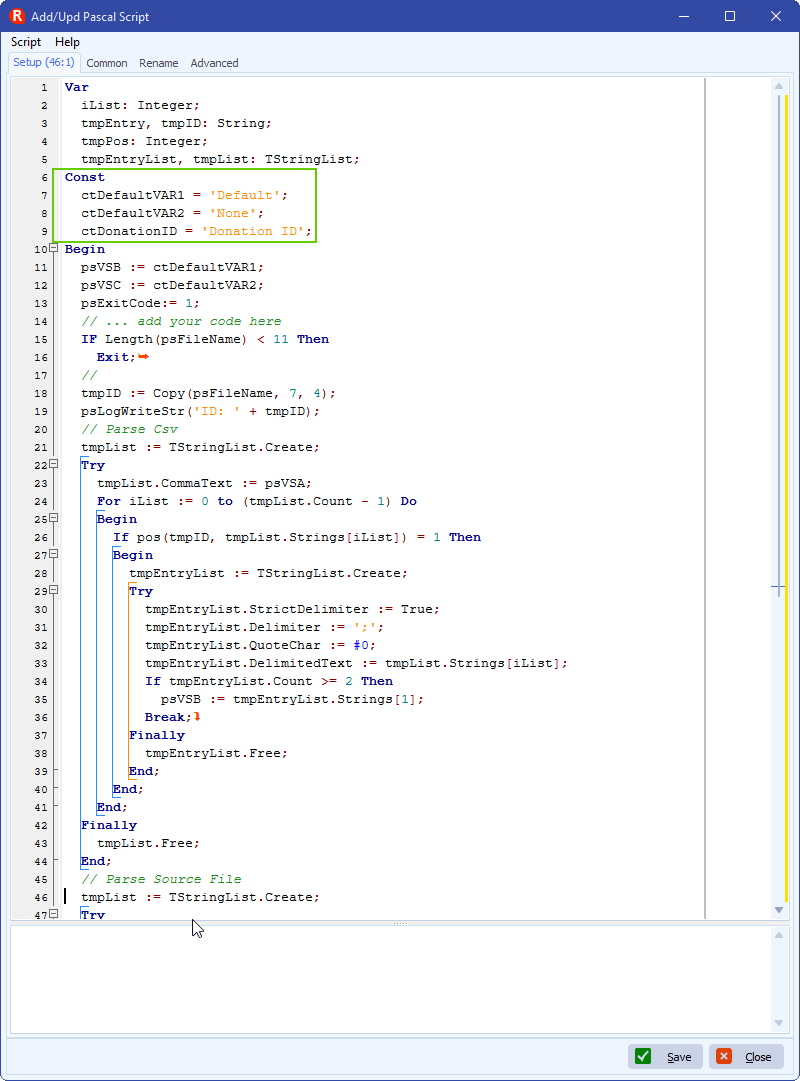
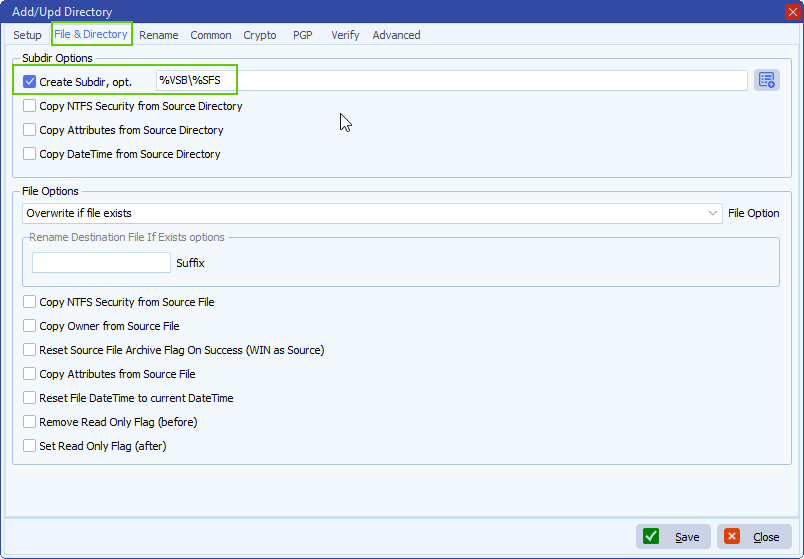
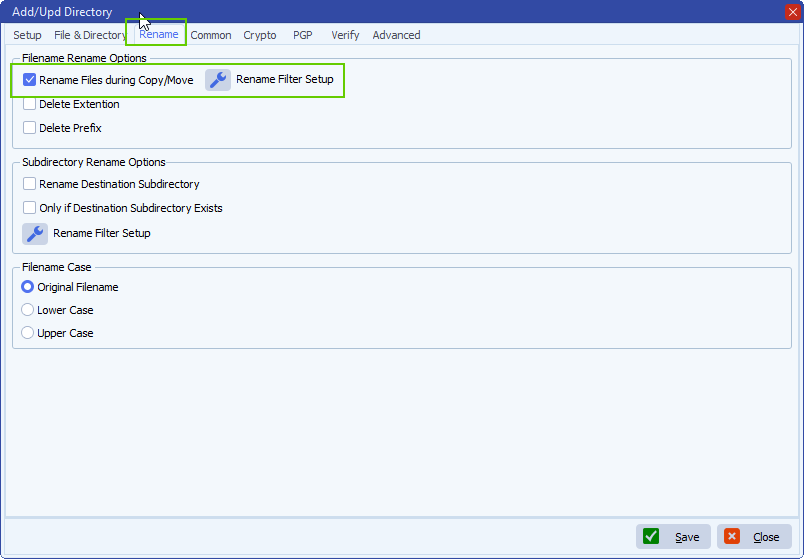
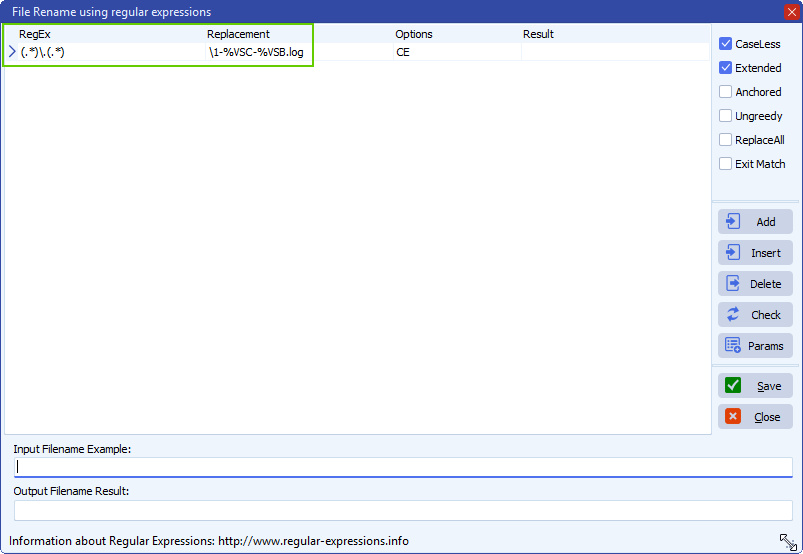
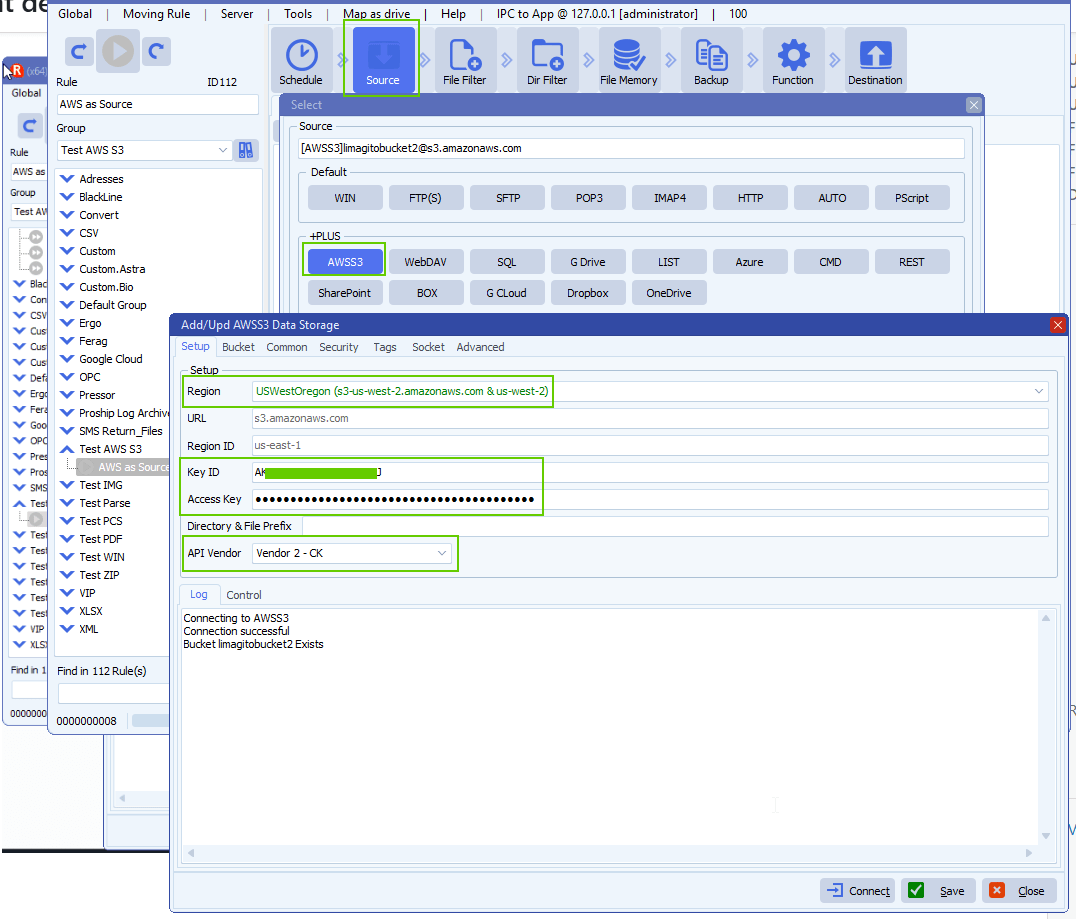
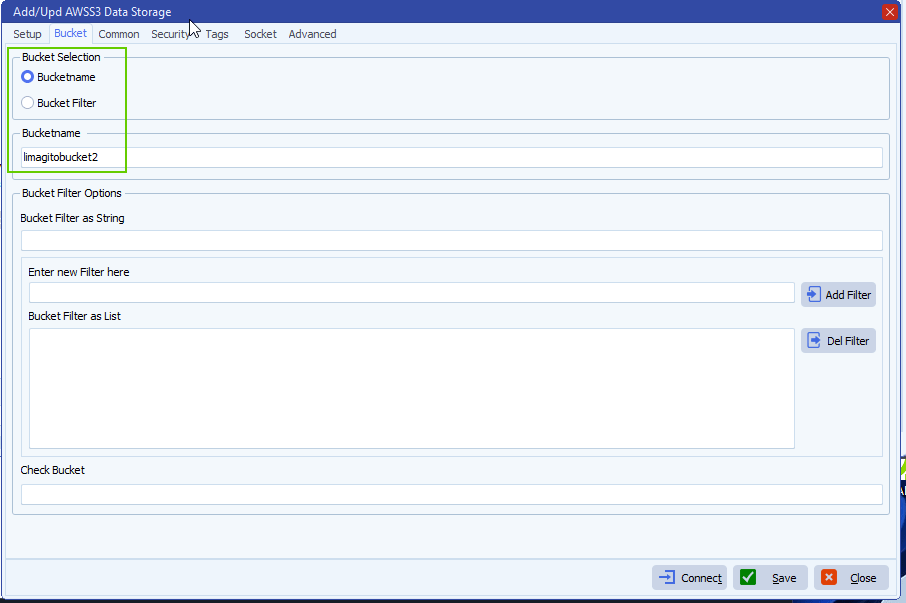
- Limagito Filemover AWSS3 setup:
If you need any help about this ‘configure Amazon S3’ how-to, please let us know.
Best Regards,
Limagito Team
#amazons3 #awss3 #managedfiletransfer #filetransfer #filemanagement #limagito