Use referenced files during FTP and SFTP upload with shortcut files
Q: After hearing many positive testimonials regarding your product, I finally have the opportunity to work with it. I’ve been tinkering for a few weeks and I’m very impressed with the functionality and speed. I am attempting to architect a rather challenging solution. If possible I would like to present an overview of the requirements and the approach I have been building out and testing. Obviously, I am open to any suggestions regarding a better approach to accomplish these goals with your product.
I need to deliver approximately 9,000 files daily to each of (8) FTP destinations. That’s not an actual 72,000 files daily as each of those eight destinations utilize a text file filter. I know from experience with our current solution that this isn’t as easily achieved as one would think. At peak times we will have more that 2,400 files flowing in per hour. With that in mind I’m trying to design in as many efficiencies as possible.
These files average 4MB. In order to minimize storage and file duplication times, I wanted to create a shortcut alias to the original file. When that file is found in an input, I can use the reference to the original file. I can’t see where this approach would be possible in your product.
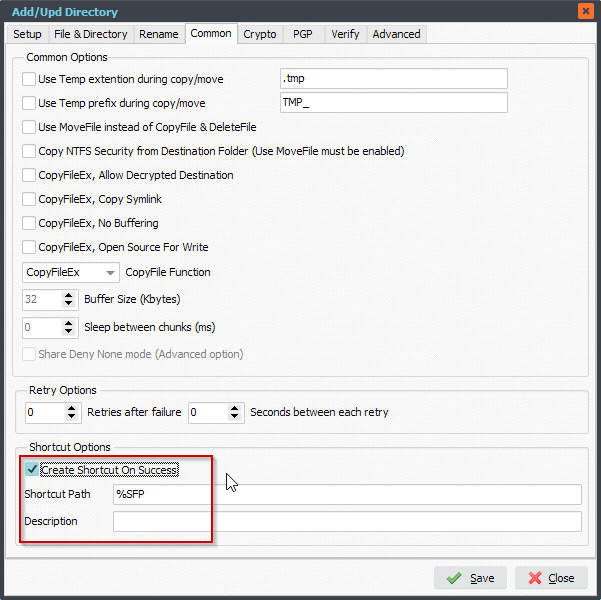
I did discover the create Shortcut function in the WIN as Destination and started pursuing that. When files flow into input, I move the original to a ‘processed’ dir and create an alias. Another process monitors the alias dir and copies/seeds all aliases into each of the (8) sub-folders using your ‘Output files to all subdirectories’ option.
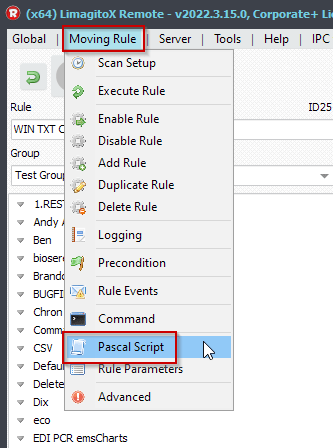
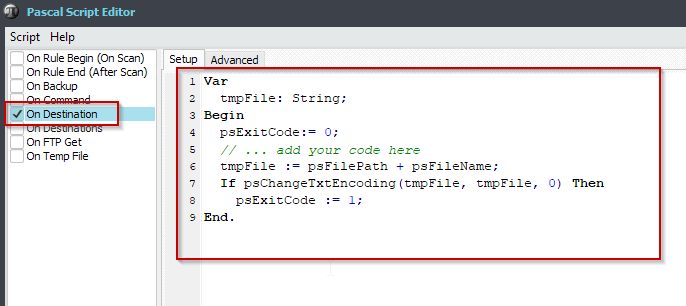
Each of these (8) inputs for FTP destinations are using text file filters such as %FCA setup in Rule parameters. Some of these filters are 1,200 lines. I wasn’t sure how well this would work, but testing and speed far exceeded any expectations I had. I am also using a text file for calculating the destination dirs. This involves several pascal scripts as described in a solution I found in your blog. This is all working perfect.
The biggest issue I currently have and possible deal breaker is that the destination file is the shortcut alias. Obviously I was hoping to get the original in the destination.
Sorry for the verbose email. Any assistance or guidance is greatly appreciated.
A: We added a new option in version v2022.4.17.0 to achieve this.
Feedback customer:
This is incredible news! I never would have imagined we could get responsive support like this. I demonstrated my solution utilizing your product this past Friday. Everyone was impressed and couldn’t identify a single area that needed improvement.
Huge thanks to you and your team.
When this option is enabled and a shortcut (.lnk) file is found in the Source then the referenced file will be used during the FTP (or SFTP) upload.
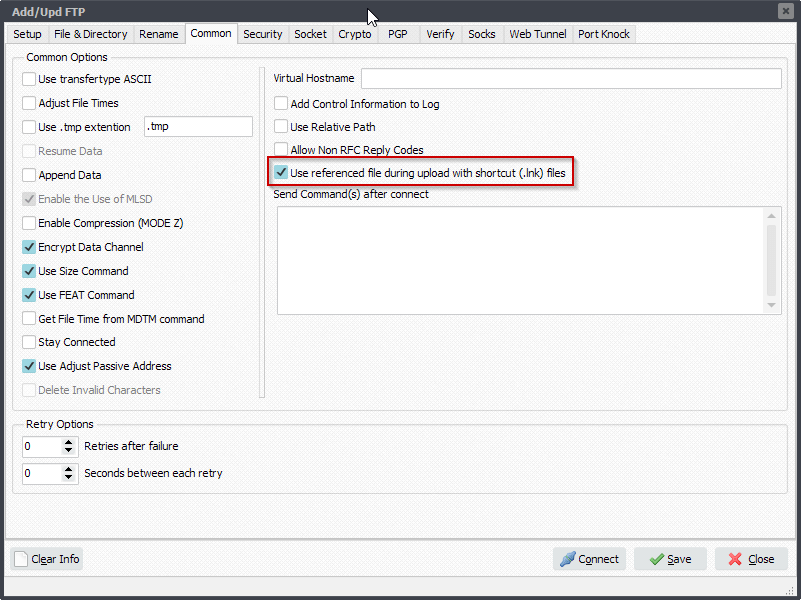
RunTime Log: information about the referenced file is available in the log. The referenced file is used during the FTP upload.

#Filetransfer #SFTP
If you need any info about this ‘shortcut files’ option, please let us know.
Best regards,
Limagito Team
—————————————————————————————————-
FYI, in the ‘WIN as Destination’ setup you have an option to create Shortcut files.
