Converting images to pdf with limagito file mover
In Limagito File Mover v2025.2.16.0 we added the Imageen PDF plug-in. This makes it possible to use our Image as destination and convert images to pdf. The setup is very simple.
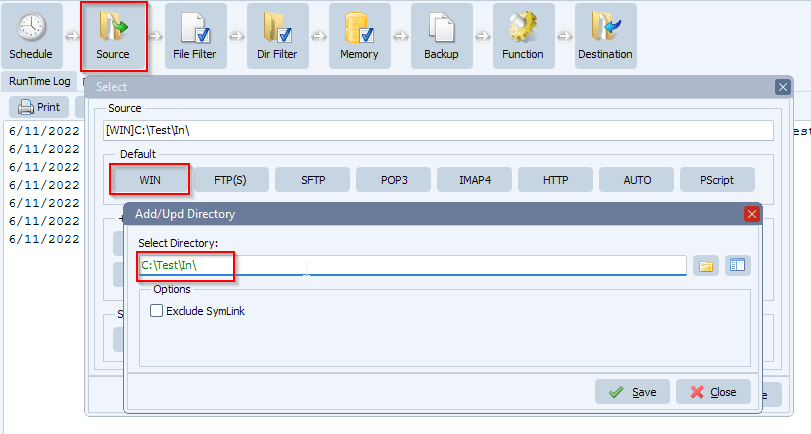
- We used a Windows folder as Source:
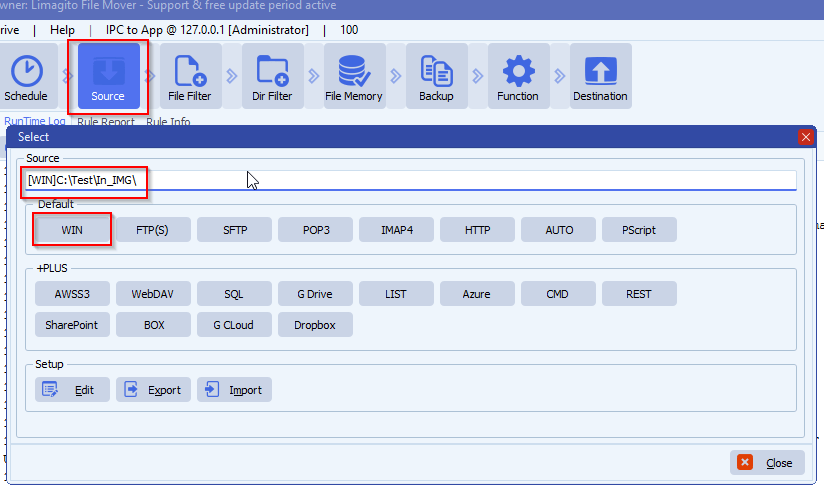
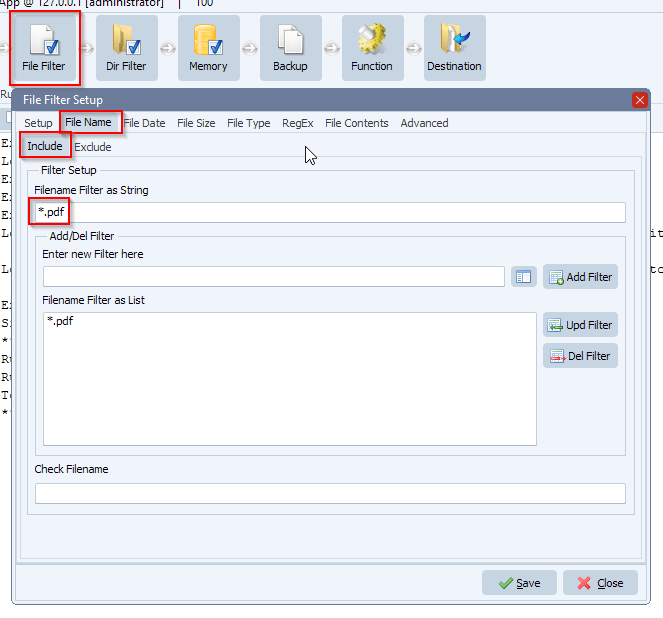
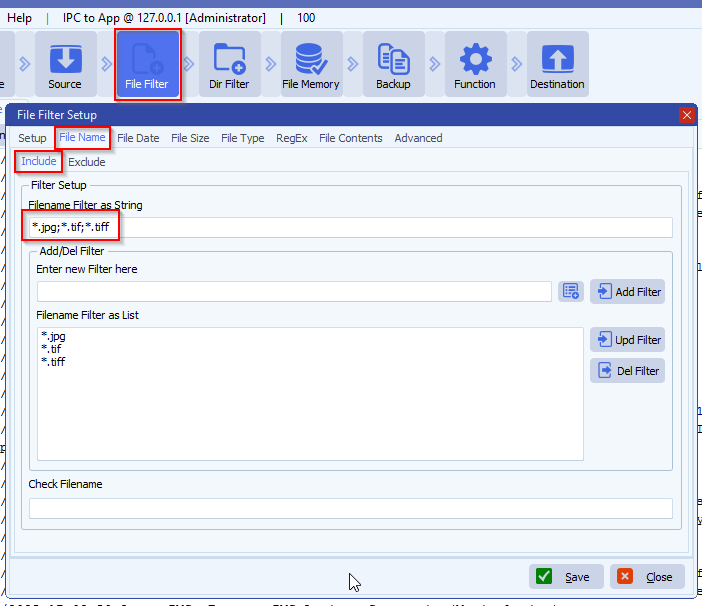
- We used the following Filename Inlcude Filter, only interested in jpg and tiff files:
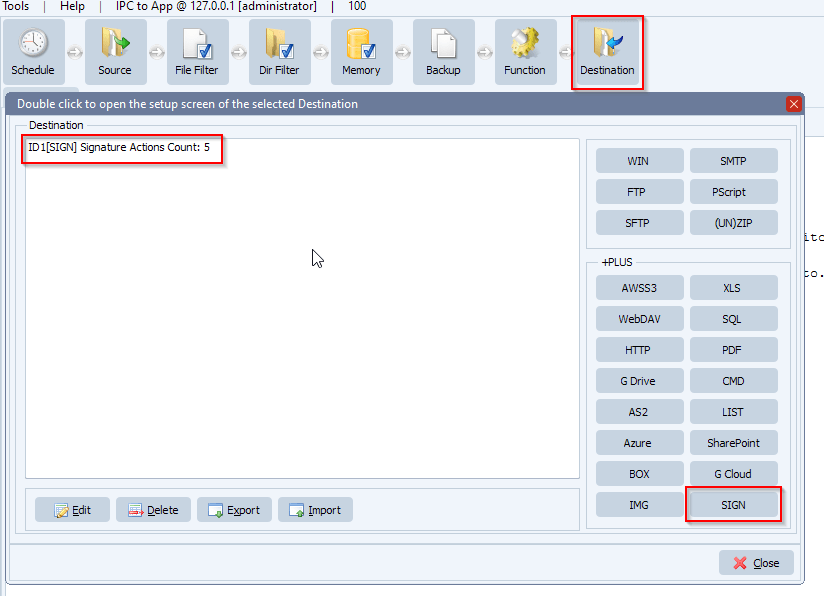
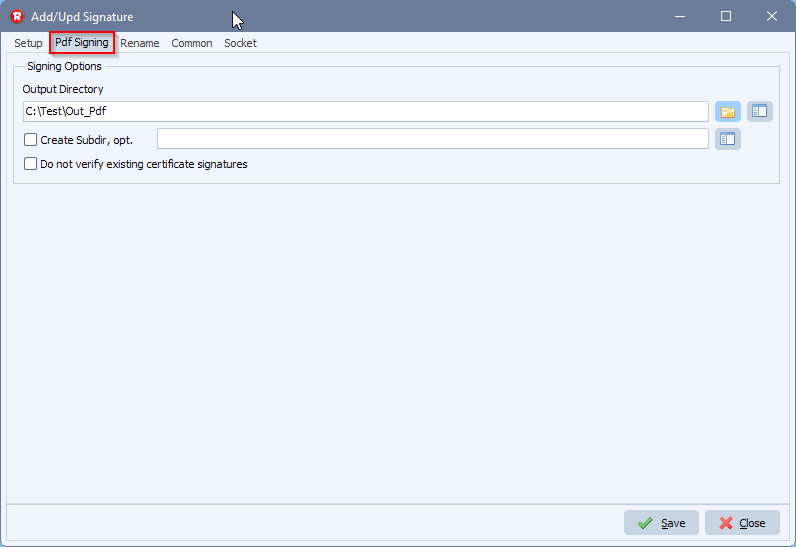
- As Destination we used IMAGE:
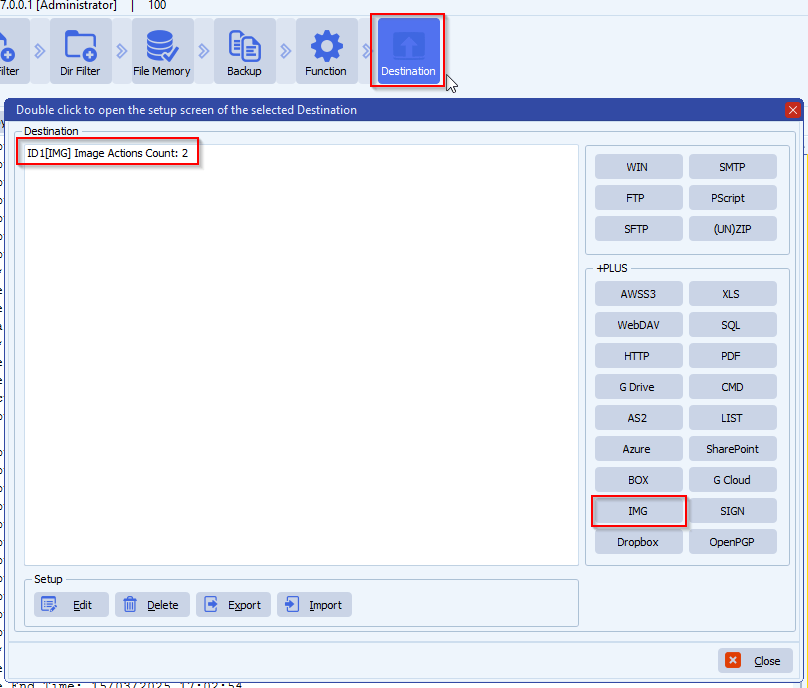
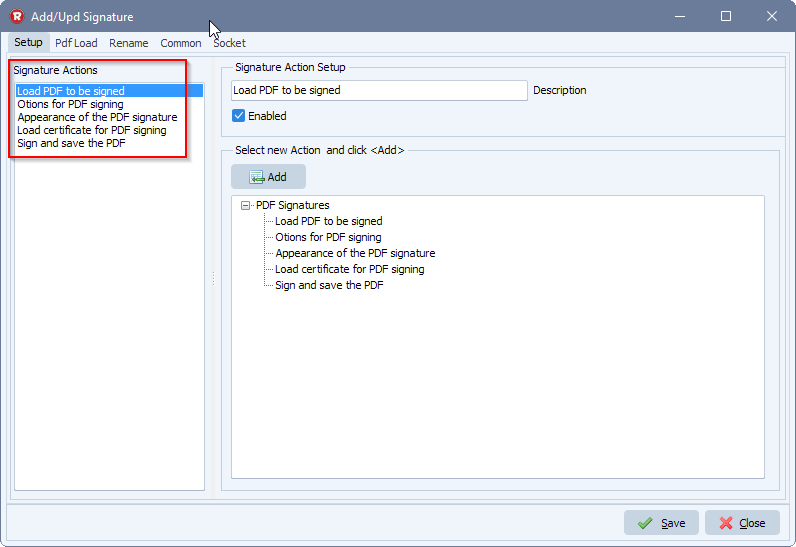
- IMAGE as Destination Setup:
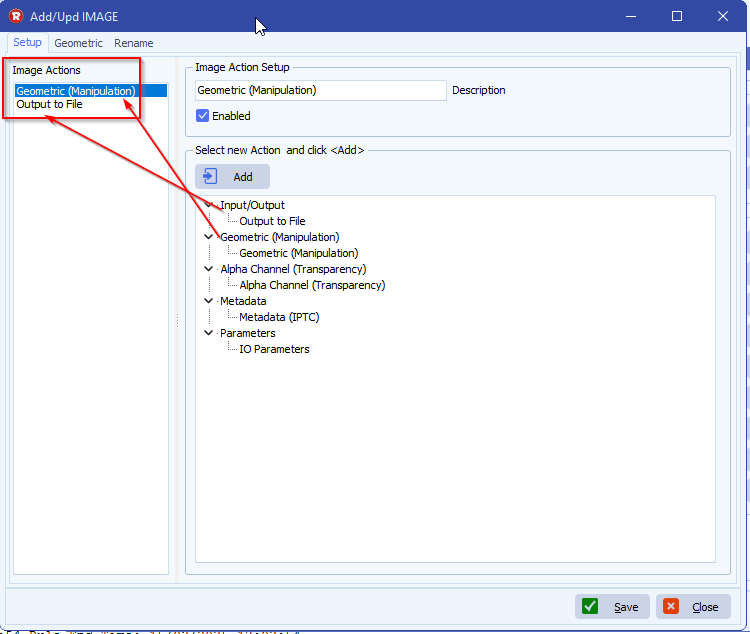
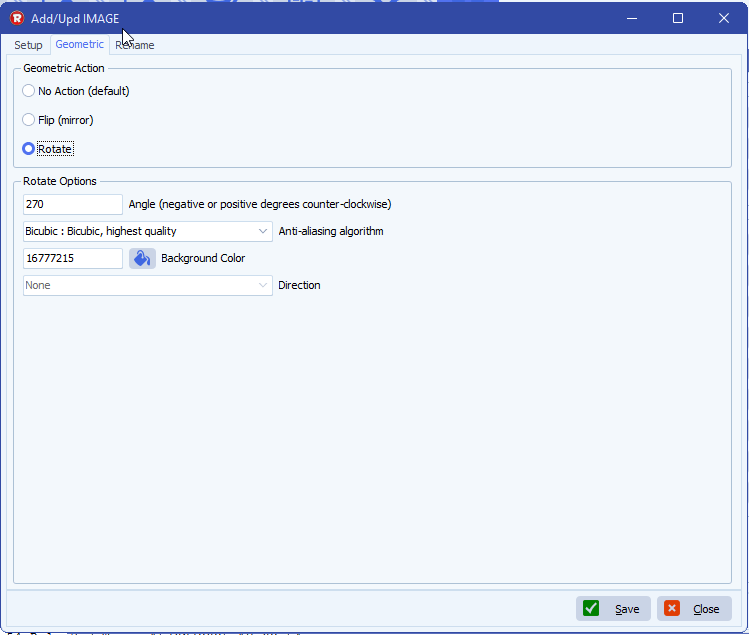
- First Action is ‘Geomatric Manipulation’ because we want tor rotate the image first
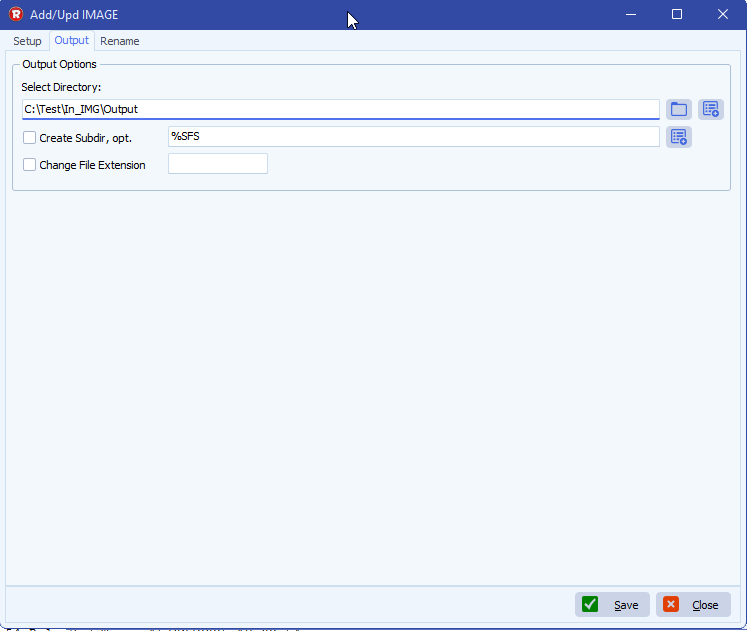
- Second Action is ‘Output to File’
- Geometric Manipulation:
- Output to File:
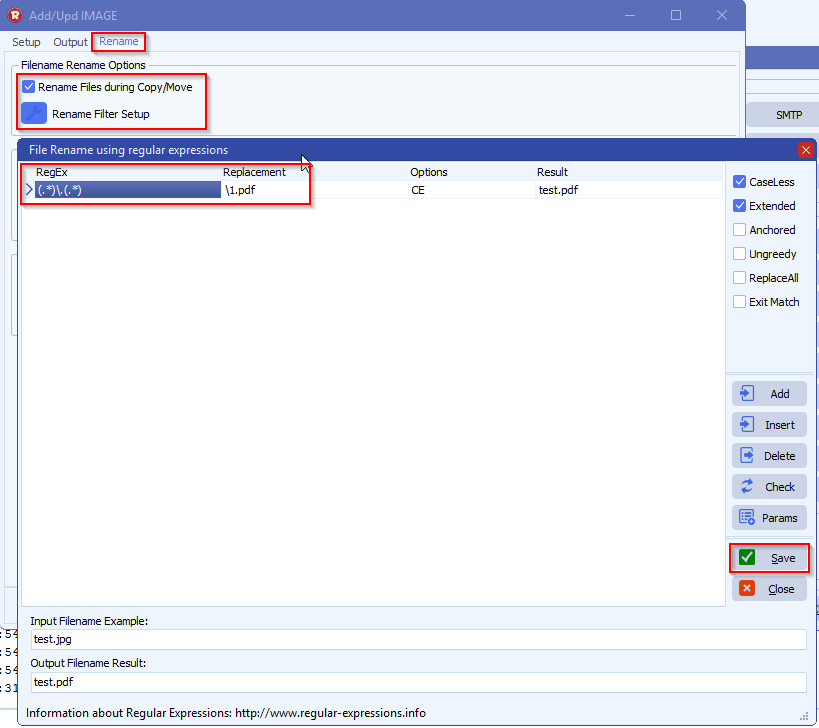
- The converting to pdf is done using our File Rename option. The engine will know what to do if it finds a different file extension as destination.
RegEx: (.*)\.(.*)
Replacement: \1.pdf
FYI: You can adjust the Replacement setup to convert to other image formats too, like png: \1.png
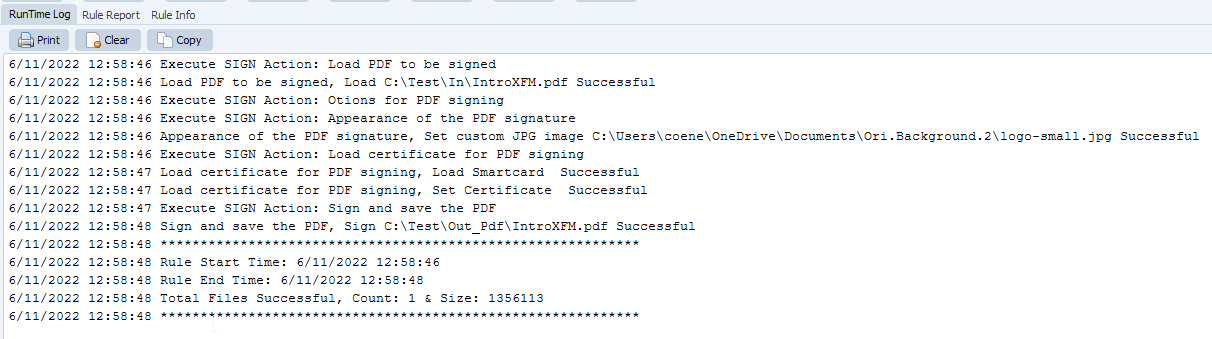
- RunTime Log Result:

If you need any help with this “images to pdf” option, please let us know.
Best Regards,
Limagito Team
#PDF #managedfiletransfer #filetransfer #filemanagement