Q: Source file parsing request:
It was a pleasure meeting you this morning, we had a productive time upgrading our lower-environment server.
Now, I have a specific requirement, I want to know if this is doable in Limagito?
I have attached 3 source log files, and an Excel file for lookup values.
Let me know what is possible and what isn’t.
Your help would be appreciated.
Requirement is.
Get a portion of the source–filename
-Filename is: 3294006586260310100730.log
-get 7th position and is 4 digits in length (is the instrument-Slno)
-Lookup for slno in the csv file for a possible match
-in the 1st column (match just the 1st 4 digits alone)
-and get the associated value in the 2nd column. (VAR-1)
-if there isn’t a match, then assign ‘Default‘ to VAR-1
Open source-file
-and lookup for a static-string ‘Donation ID’:
-and get the associated value which is on the same line. (VAR-2)
-if there isn’t a match, then assign ‘None‘ to VAR-2
-if there are any backward or forward slashes within the value, replace it with space
Rename the Target file name.
-with the original Primary name
-and suffix it with ‘-‘
-and suffix it with (VAR-2)
-and suffix it with ‘-‘
-and suffix it with (VAR-1)
-File Extension should be ‘.TXT‘
Create a folder with the name (VAR-1) on the Target path and drop the associated renamed file in it.
A: Yes this is possible using our srcipting option.
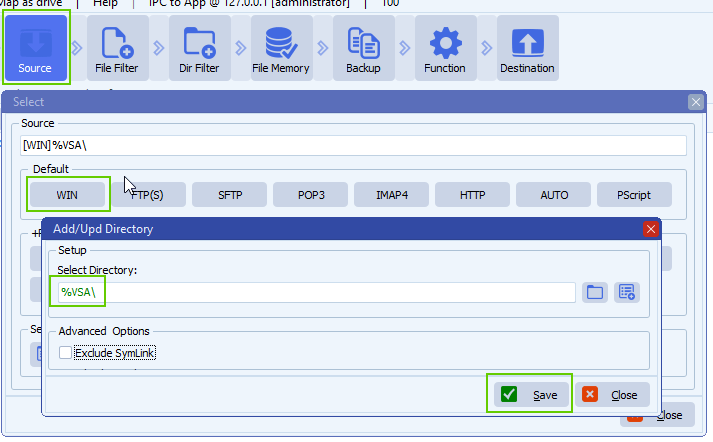
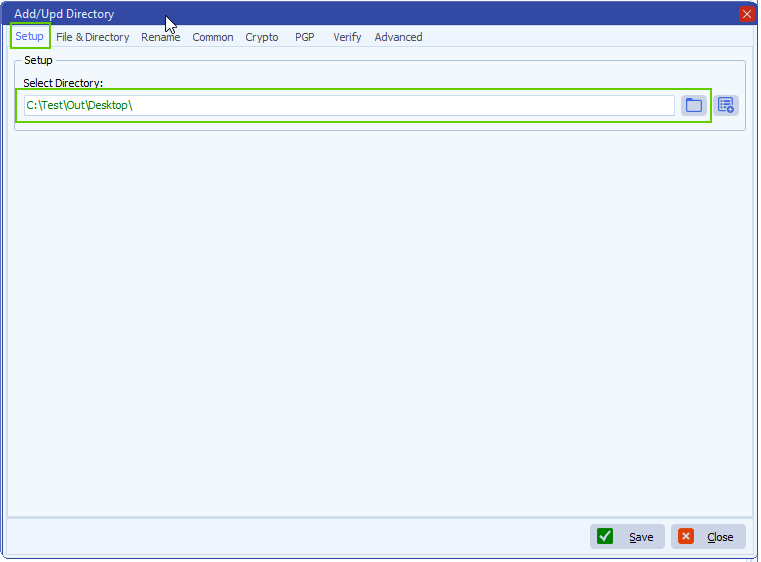
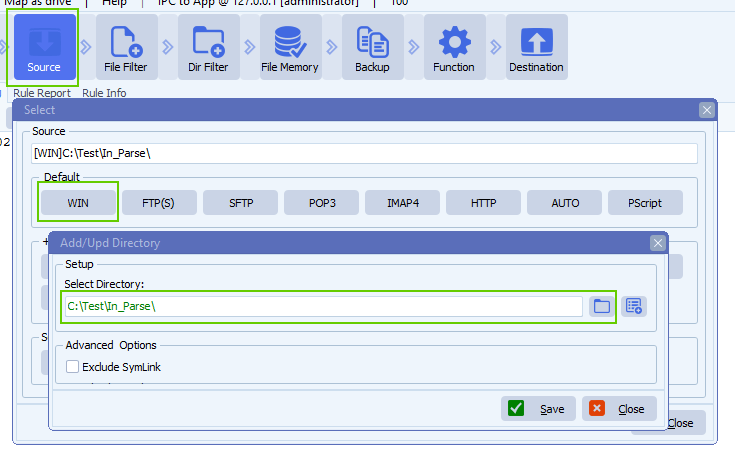
- The Source must be a Windows folder (or share):
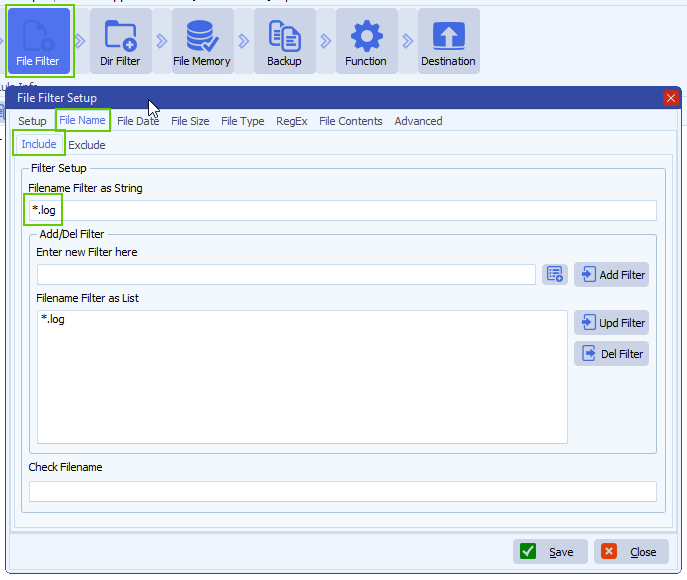
- As file filter we used *.log because we only need to search for log files:
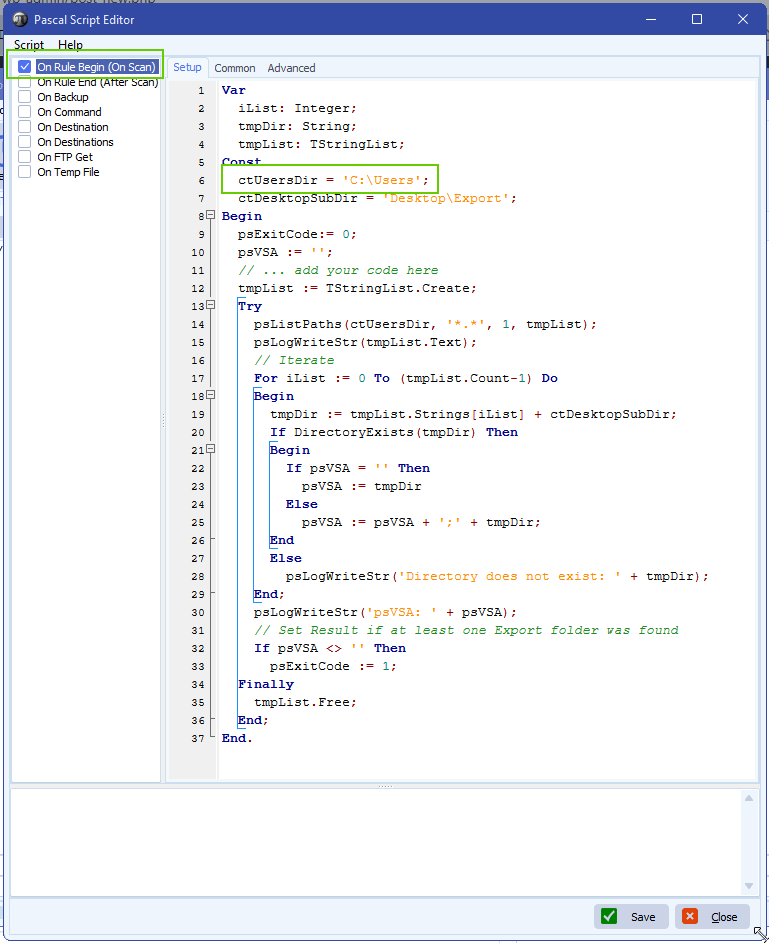
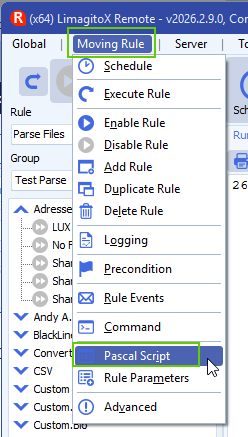
- Open our Pascal Script option:
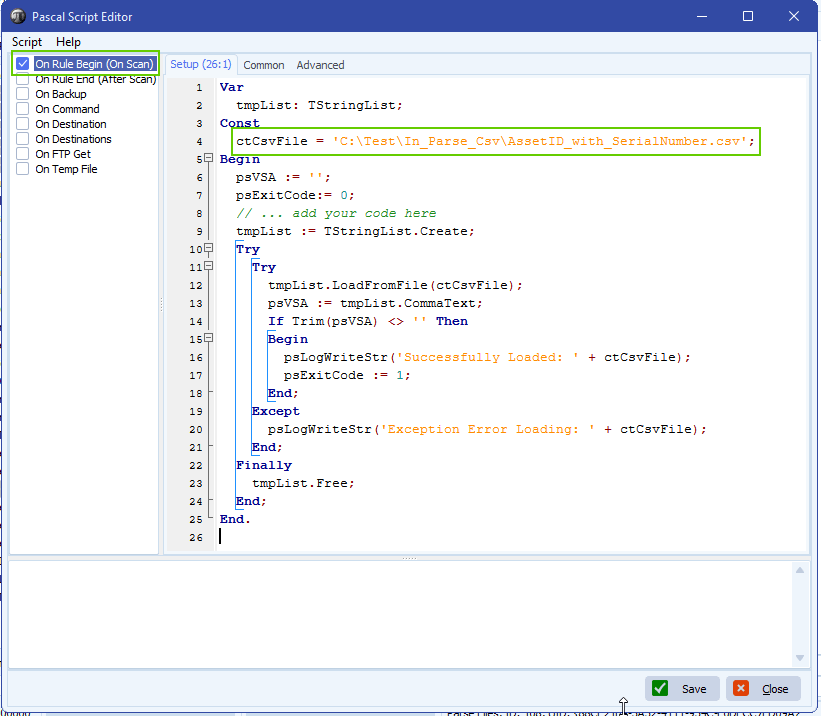
- Enable and add the following ‘On Rule Begin’ script:
- This script will load the content of the ‘AssetID_with_SerialNumber.csv’ file. You can adjust the ctCsvFile const if needed.
- It must be a csv file
- You can download the script here
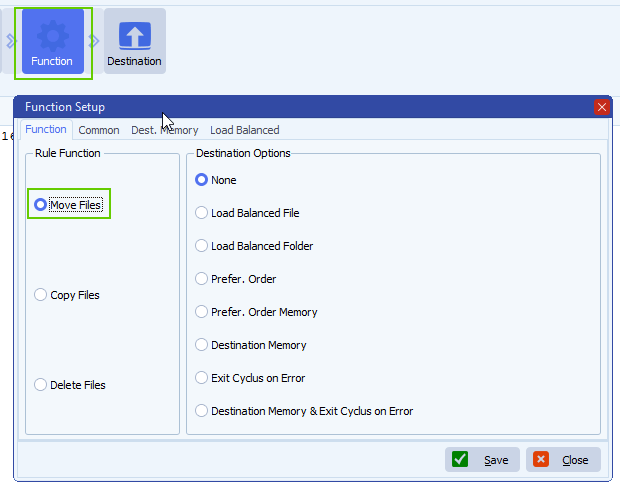
- Funtion setup:
- We are using ‘Move Files’ in our test setup
- If you want to keep the files in the source then
- Select ‘Copy Files’ instead
- Enable our File Memory option! This way we will only copy the same file once.
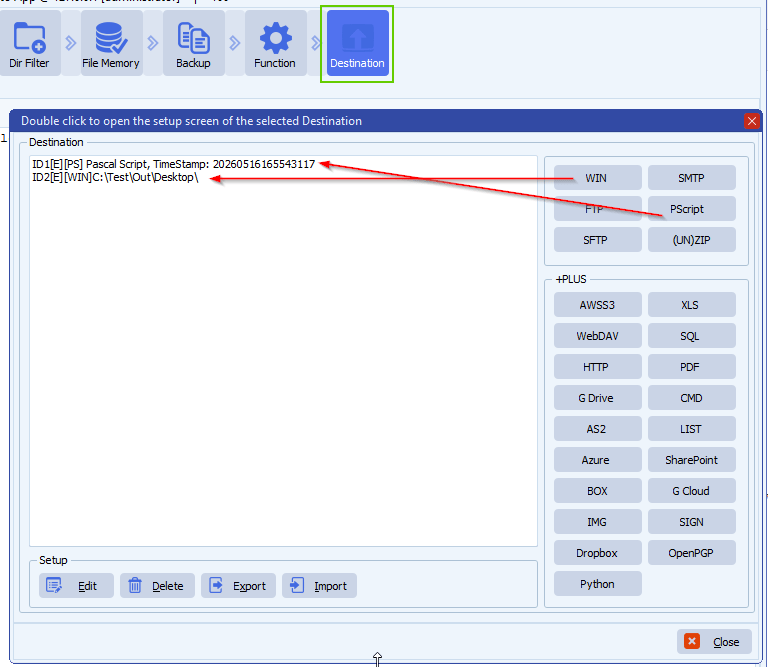
- Destination Setup
- First Destination MUST be our Pascal Script option
- Second Destination is the destination folder of moved log files
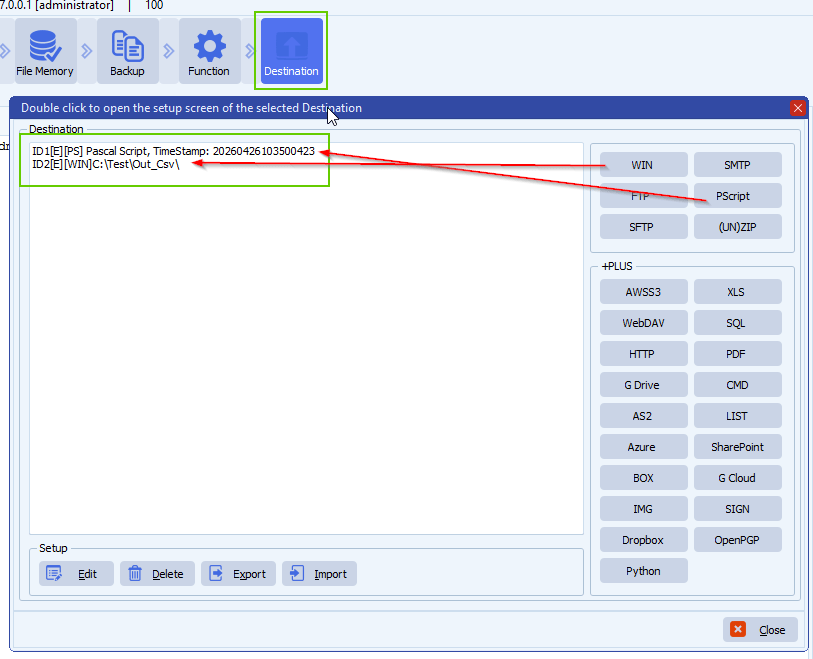
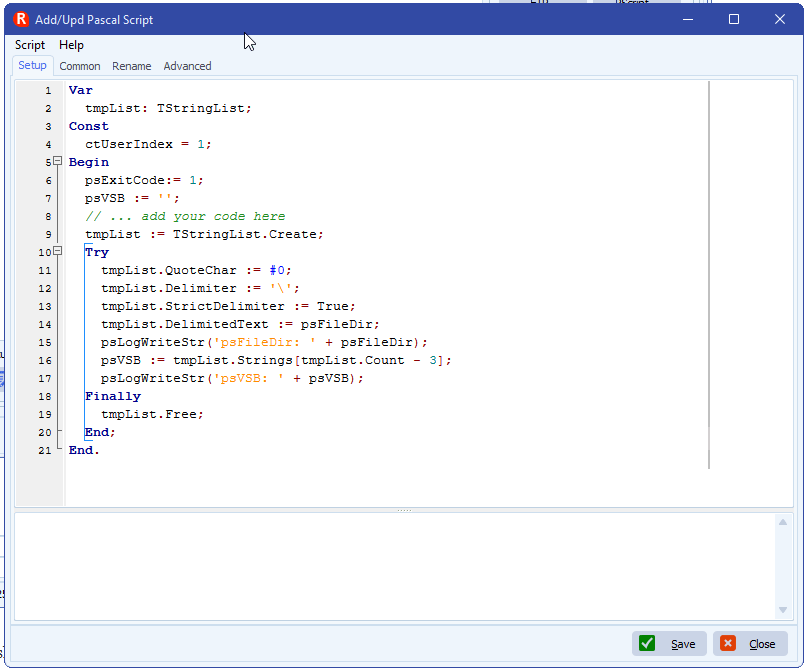
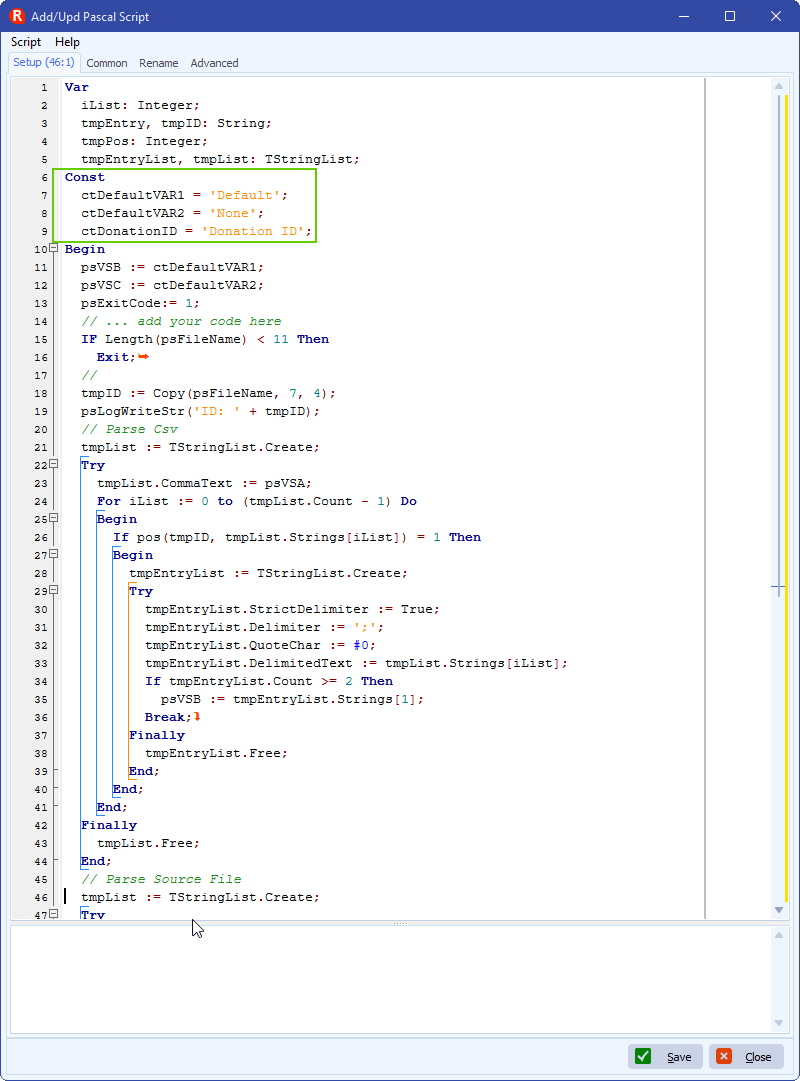
- First Destination: Pascal Script
- You can download the script here
- The script will strip an ID from the source filename (Char 7 – 10)
- This ID will be used to get the ‘AssetID’ from the csv file
- AssetID will be used to parse the source file for the ‘Donation ID’ information
- / and \ will be replaced with a space
- Invalid directory char will be removed
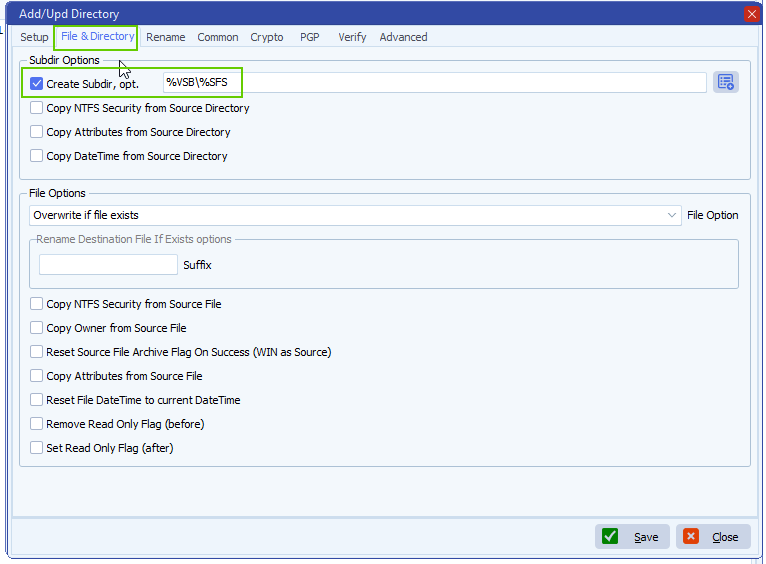
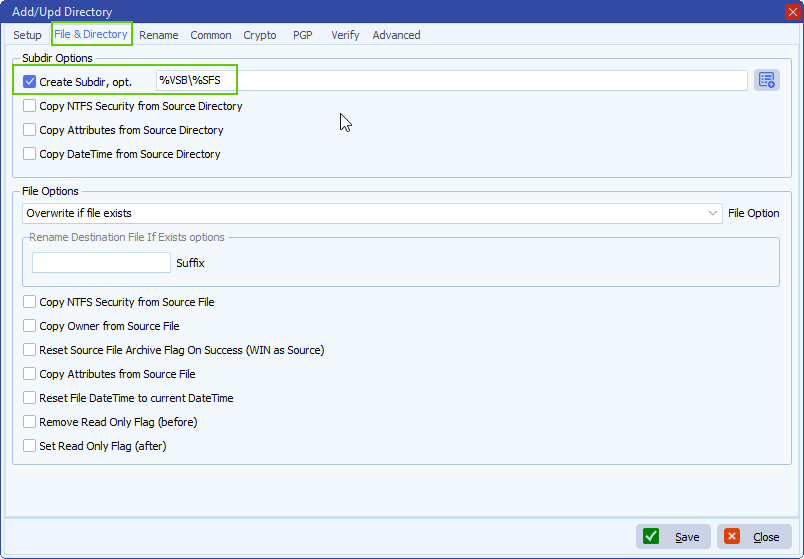
- Second Destination: We used a Windows Folder but can be any other destination type

- Adjust ‘Create Subdir, opt.’ to: %VSB\%SFS
- %VSB var contains the AssetID parsed from the csv file
- Enable ‘Rename Files during Copy/Move’ option:
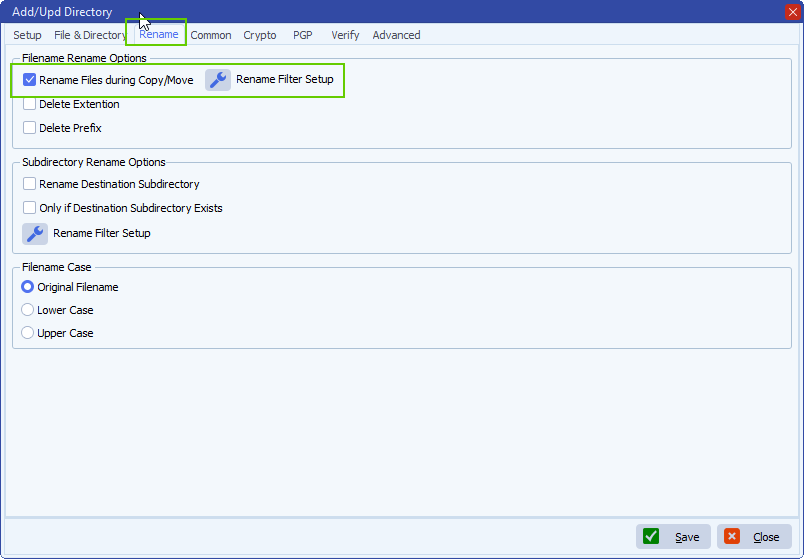
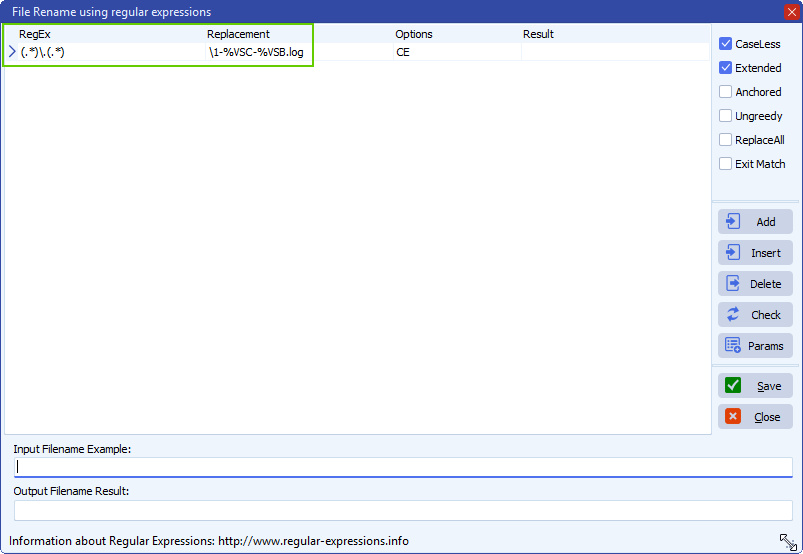
- File Rename setup:
- RegEx: (.*)\.(.*)
- Replacement: \1-%VSC-%VSB.log
- Filename will be renamed and extension will change from .log to .txt
If you need any help about this ‘source file parsing’ request, please let us know.
Best Regards,
Limagito Team
#csv #managedfiletransfer #filetransfer #filemanagement #limagito