Q: Move a file and send email with filename and line count.
Can you help me with the following question.
I want to move a file and in an email state the file name (always a text file .csv, .txt) and a line count
Test.txt – 12 lines
Can this be done?
A: Yes this is possible. We have created a Pascal Script for you to achieve this.
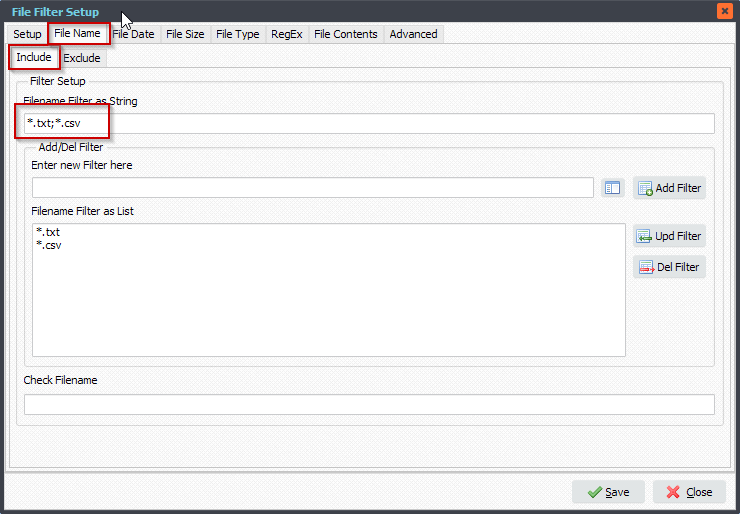
1. It is important that you’ll only handle txt and csv files (text based files). We added a File Name Include File Filter, just to be sure:
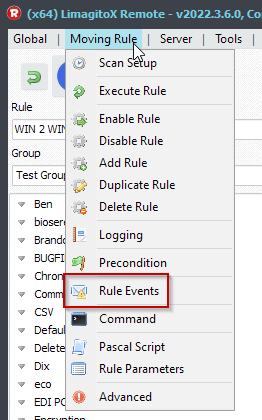
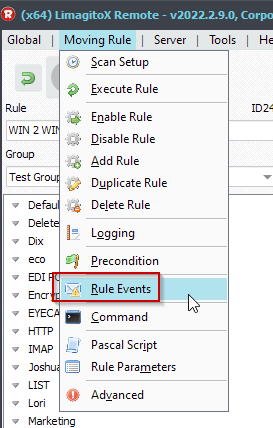
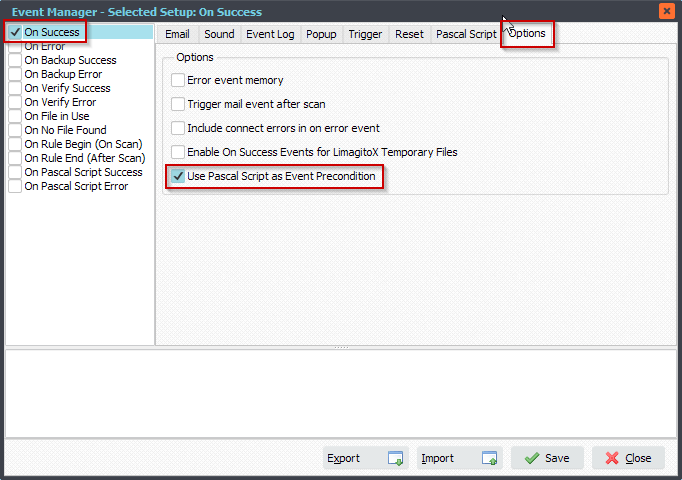
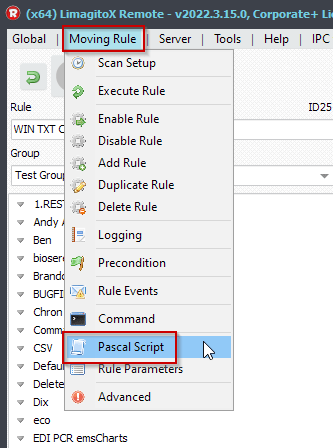
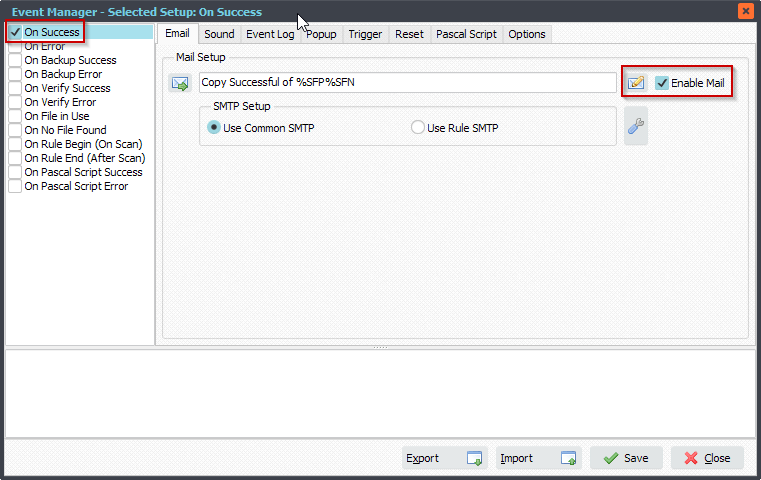
2. Open our ‘Pascal Script’ option:
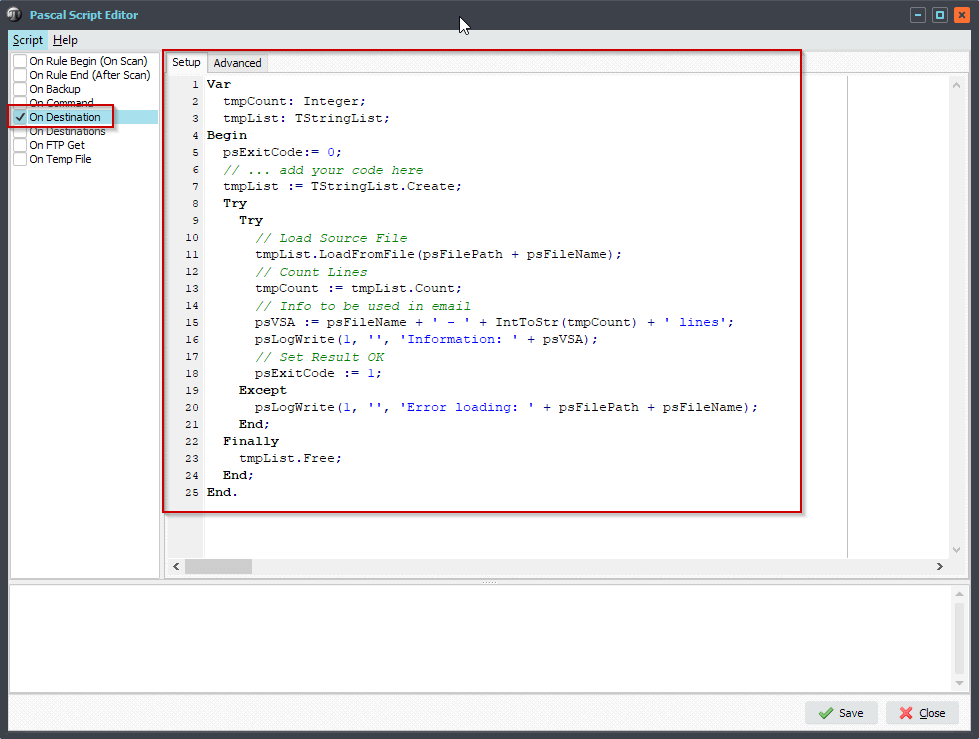
Add and enable the following ‘On Destination’ Pascal Script. This script will load the txt/csv file and will put the line count information into our %VSA parameter which can be use within our notification email.
Var
  tmpCount: Integer;
  tmpList: TStringList;
Begin
  psExitCode:= 0;
  // ... add your code here
  tmpList := TStringList.Create;
  Try
    Try
      // Load Source File
      tmpList.LoadFromFile(psFilePath + psFileName);
      // Count Lines
      tmpCount := tmpList.Count;
      // Info to be used in email
      psVSA := psFileName + ' - ' + IntToStr(tmpCount) + ' lines';
      psLogWrite(1, '', 'Information: ' + psVSA);
      // Set Result OK
      psExitCode := 1;
    Except
      psLogWrite(1, '', 'Error loading: ' + psFilePath + psFileName);
    End;
  Finally
    tmpList.Free;
  End;
End.
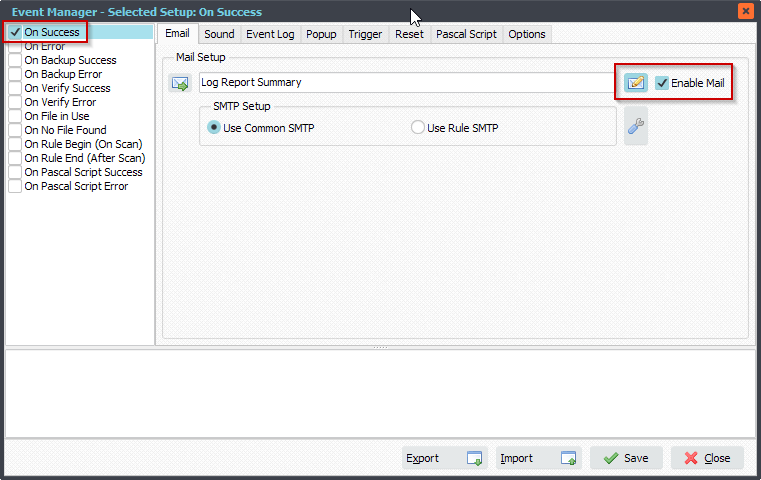
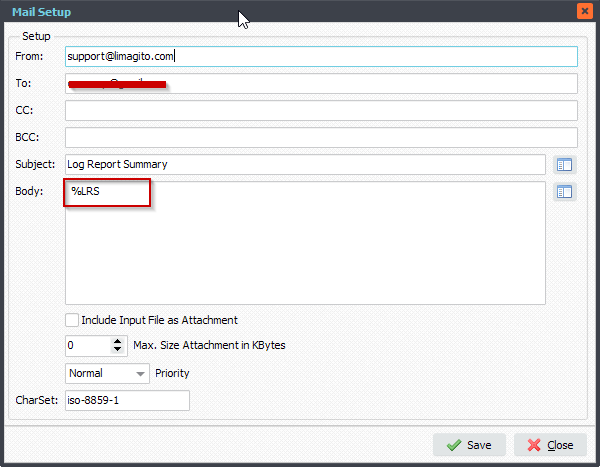
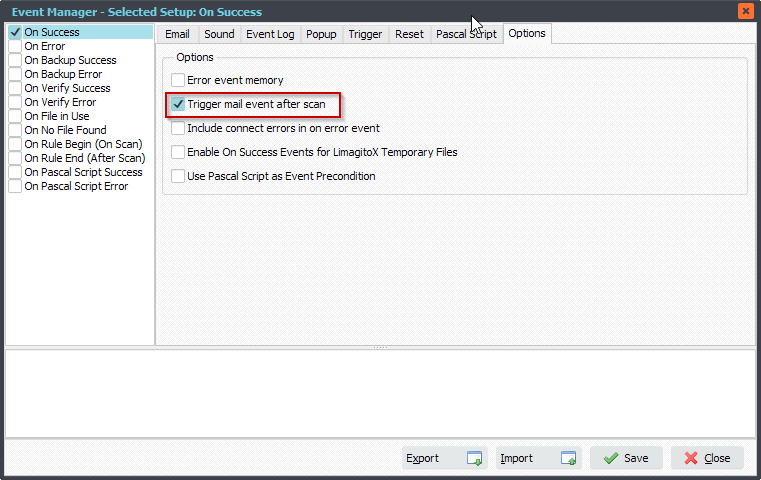
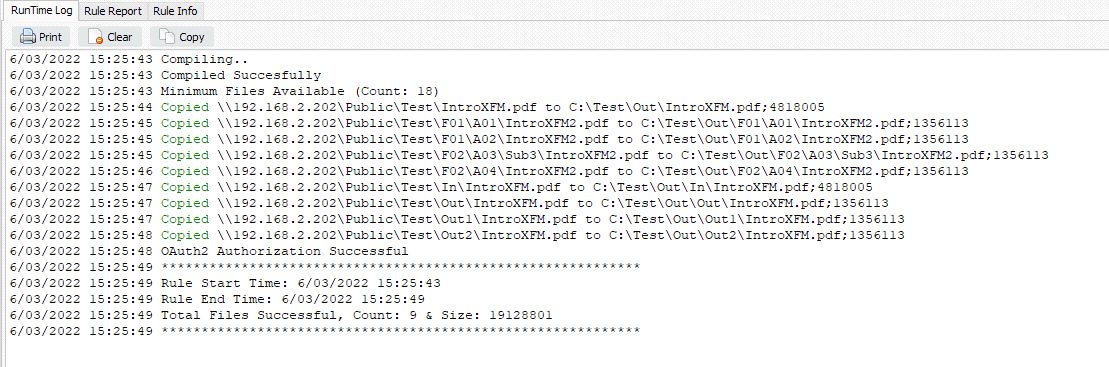
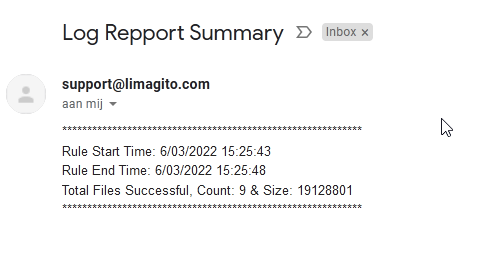
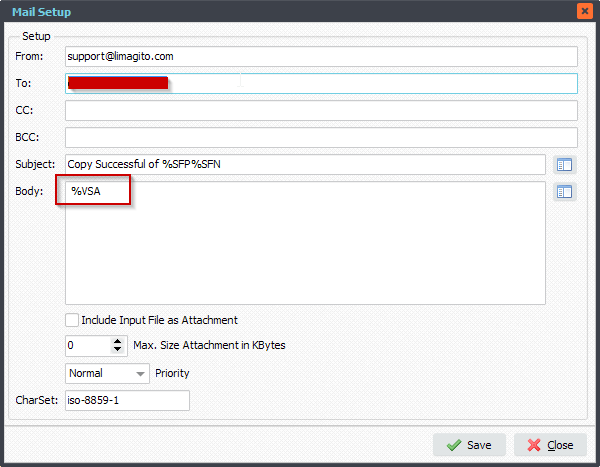
3. Now you can use the %VSA as parameter within the email setup:
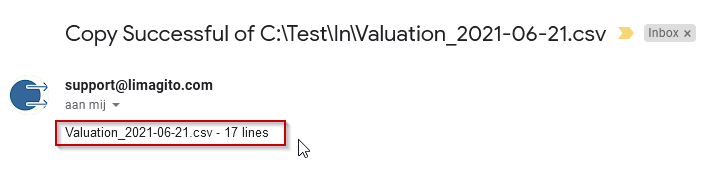
4. Email Result:
#Filetransfer
If you need any info about this option, please let us know.
Best regards,
Limagito Team