Q: Monitor disabled rules. Our company purchased Limagito products and used it for several years, and I am very happy to have such a useful product. I want to ask a technical question. Several of our colleagues manage all the built rules together, but sometimes we accidentally turn it off and forget to turn it on. I would like to ask if there is any way to scan all RULES in limagito and find that its status is “Disable”, so we can create a job to monitor this and send a mail to notify us. Looking forward to your help, and wish you all good health.
A: In version v2020.12.6.0 we added Pascal Script as Source. This new option makes it possible for us to achieve your request. Let’s get started.
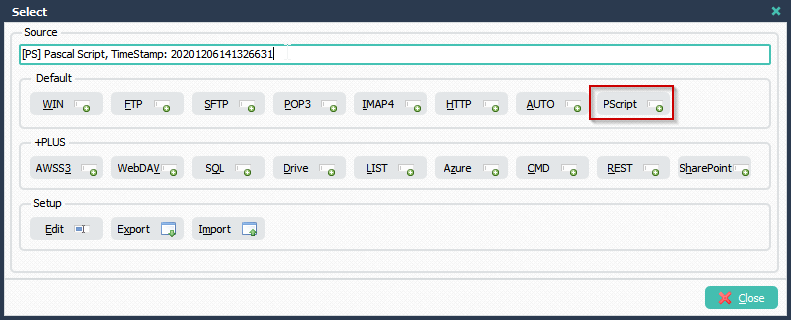
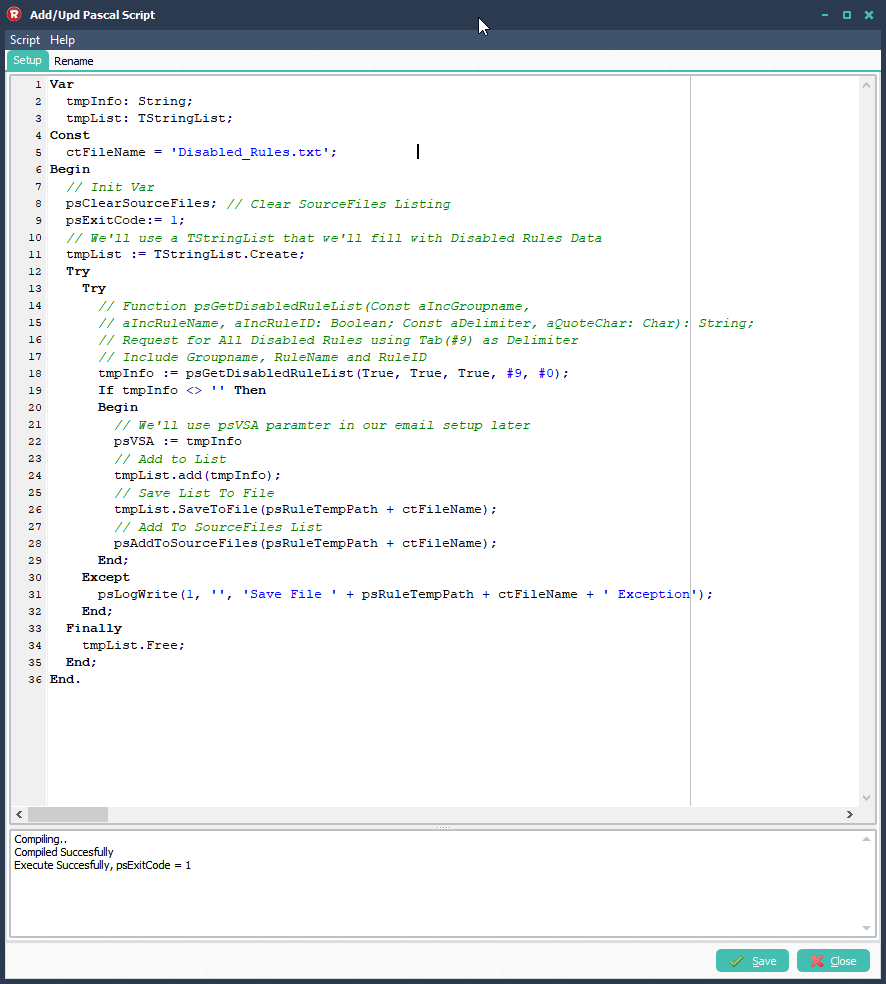
- Select PScript (Pascal Script) as Source:
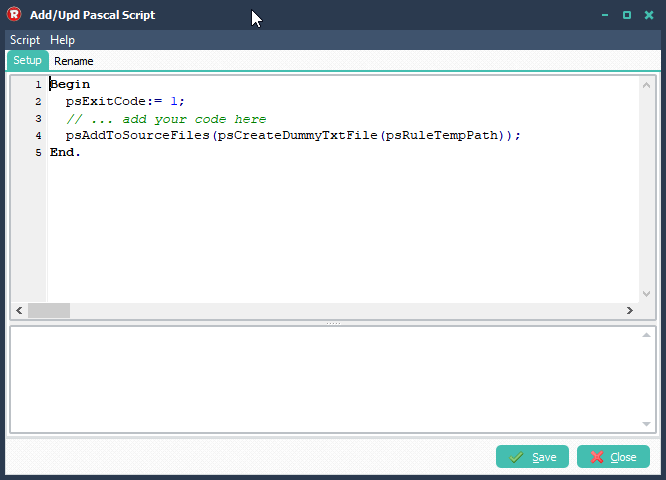
Add the following Pascal Script (Copy / Paste):
Var
  tmpInfo: String;
  tmpList: TStringList;
Const
  ctFileName = 'Disabled_Rules.txt';
Begin
  // Init Var
  psClearSourceFiles; // Clear SourceFiles Listing
  psExitCode:= 1;
  // We'll use a TStringList that we'll fill with Disabled Rules Data
  tmpList := TStringList.Create;
  Try
    Try
      // Function psGetDisabledRuleList(Const aIncGroupname,
      // aIncRuleName, aIncRuleID: Boolean; Const aDelimiter, aQuoteChar: Char): String;
      // Request for All Disabled Rules using Tab(#9) as Delimiter
      // Include Groupname, RuleName and RuleID
      tmpInfo := psGetDisabledRuleList(True, True, True, #9, #0);
      If tmpInfo <> '' Then
      Begin
        // We'll use psVSA paramter in our email setup later
        psVSA := tmpInfo
        // Add to List
        tmpList.add(tmpInfo);
        // Save List To File
        tmpList.SaveToFile(psRuleTempPath + ctFileName);
        // Add To SourceFiles List
        psAddToSourceFiles(psRuleTempPath + ctFileName);
      End;
    Except
      psLogWrite(1, '', 'Save File ' + psRuleTempPath + ctFileName + ' Exception');
    End;
  Finally
    tmpList.Free;
  End;
End.
— Begin Update Post (15th of January 2023) —
First le me start by stating how much we enjoy working with your software in past months, Setting it up and configuring the rules was super easy and intuitive.
We had some issue with tracking rules that were disabled by mistake. After browsing your Q&A I’ve found ‘Q&A 33: Can we create a job to monitor disabled rules’
Which works great, our only remaining issues is that we have a lot of disabled test rule, the fill the report. Is there a way to generate the same report but to exclude certain rules from it?
Thank you very much for your kind words. I’ve added an alternative Pascal Script. This will exclude those rules who have the ctExclude word in their description. In my example it would exclude all rule that have the word “test” in their description. The ctExlude Const is not case sensitive.
Var
  iList: Integer;
  tmpEntry, tmpInfo: String;
  tmpList: TStringList;
Const
  ctExclude = 'test';
  ctFileName = 'Disabled_Rules.txt';
Begin
  // Init Var
  psClearSourceFiles; // Clear SourceFiles Listing
  psExitCode:= 0;
  // We'll use a TStringList that we'll fill with Disabled Rules Data
  tmpList := TStringList.Create;
  Try
    Try
      // Function psGetDisabledRuleList(Const aIncGroupname,
      // aIncRuleName, aIncRuleID: Boolean; Const aDelimiter, aQuoteChar: Char): String;
      // Request for All Disabled Rules using Tab(#9) as Delimiter
      // Include Groupname, RuleName and RuleID
      tmpInfo := psGetDisabledRuleList(True, True, True, #9, #0);
      If tmpInfo <> '' Then
      Begin
        // Add to List
        tmpList.Text := tmpInfo;
        // Filter
        For iList := (tmpList.Count-1) Downto 0 Do
        Begin
          tmpEntry := tmpList.Strings[iList];
          If Pos(AnsiLowerCase(ctExclude), AnsiLowerCase(tmpEntry)) <> 0 Then
            tmpList.Delete(iList);
        End;
        If tmpList.Count <> 0 Then
        Begin
          // We'll use psVSA paramter in our email setup later
          psVSA := tmpList.Text;
          // Add to List
          tmpList.add(tmpInfo);
          // Save List To File
          tmpList.SaveToFile(psRuleTempPath + ctFileName);
          // Add To SourceFiles List
          psAddToSourceFiles(psRuleTempPath + ctFileName);
        End;
      End;
    Except
      psLogWrite(1, '', 'Save File ' + psRuleTempPath + ctFileName + ' Exception');
    End;
    If tmpList.Count <> 0 Then
      psExitCode := 1;
  Finally
    tmpList.Free;
  End;
End.
— End Update Post (15th of January 2023) —
It also possible to request all Enabled Rules. In this case you need to replace
tmpInfo := psGetDisabledRuleList(True, True, True, #9, #0);
by
tmpInfo := psGetEnabledRuleList(True, True, True, #9, #0);
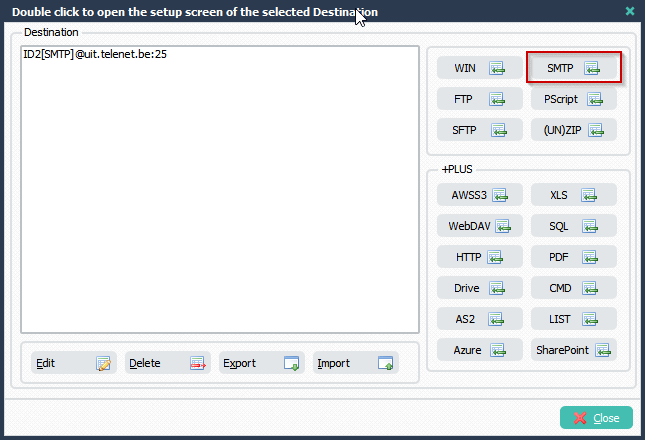
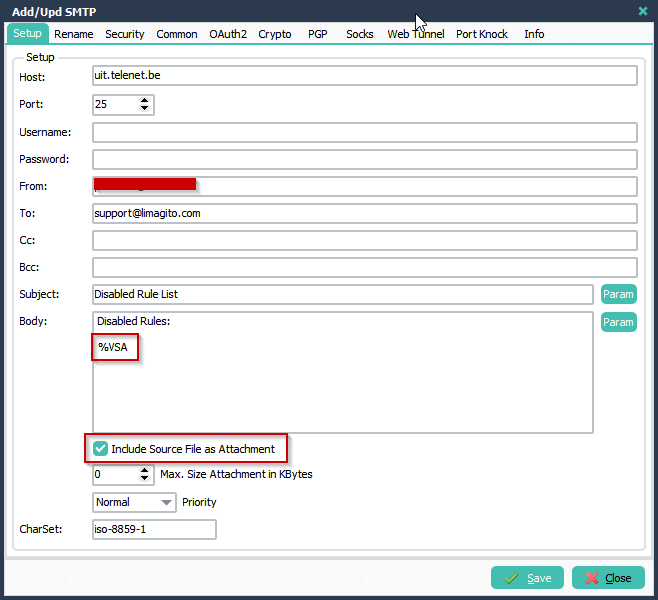
- SMTP as Destination Setup:
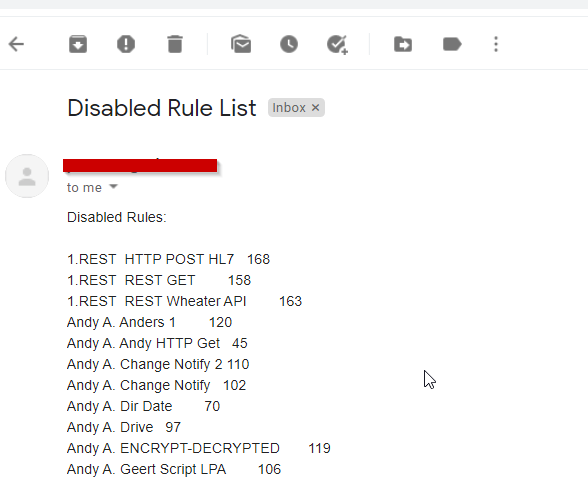
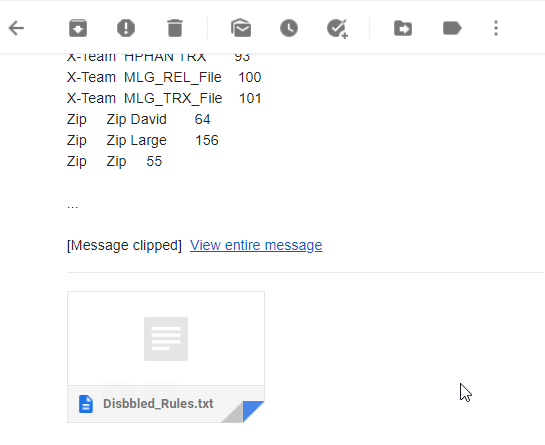
We added %VSA parameter which also contains the Disabled Rule(s). Option ‘Include Source File as Attachment’ is also enabled so the text file containing the Disabled Rule information will be attached to the email.

If you need any help with this ‘job to monitor disabled rules ’, please let us know.
Best Regards,
Limagito Team