How to do a basic copy operation with Limagito File Mover
In this blog post we are going to explain you how to do a basic copy or move operation.
First you’ll need to download and install our File Mover tool using one of our installers:
File Mover Engine
File Mover engine as Application
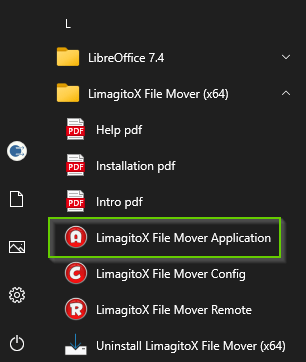
Let us assume you are a novice user and decided to use our tool for the first time as ‘Application’. This means the File Mover engine needs to be started first. The engine running as Application is called LimagitoXA.exe and a shortcut can be found at the Windows Application Menu under ‘LimagitoX File Mover’.
The Application Engine will show the following GUI after it is started:
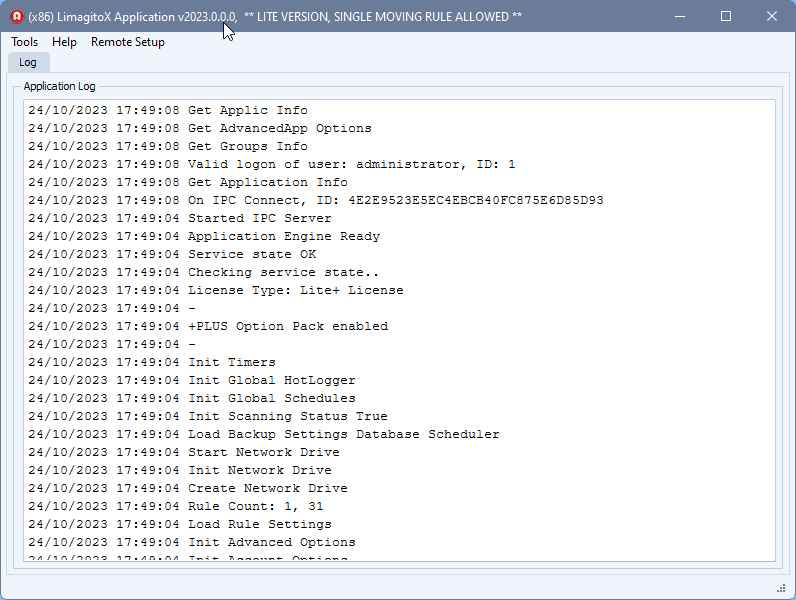
You can minimize the ‘LimagitoXA’ Application but please, do not close it because it is the engine doing all the work (copy / move / ..).
File Mover engine as a Windows Service
If you decided to use our File Mover tool as a Windows Service then please check if the service is installed and running.
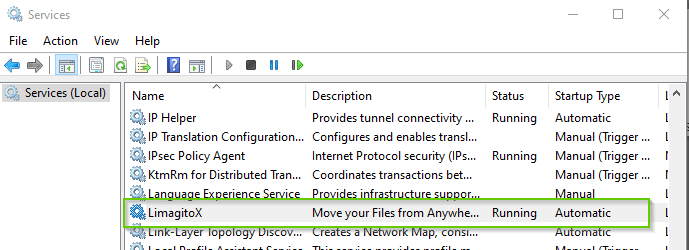
It is very important that you use ONE of both File Mover engines. Never use both engines (Application XA and Service XS) at the same time.
File Mover Remote Setup Tool
The configuration of this engine is done by a second tool called ‘LimagitoXR’ which is our Remote Setup tool. The Remote tool will connect to and communicate with the engine. It does not need to be running all the time, you can close and open it again any time you need to configure or debug the File Mover engine.
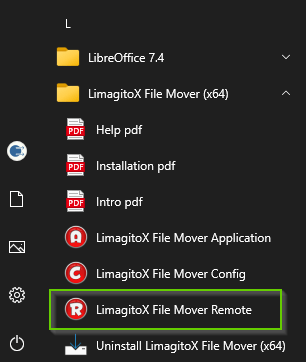
Please start ‘LimagitoX File Mover Remote’ from the Windows Application Menu.
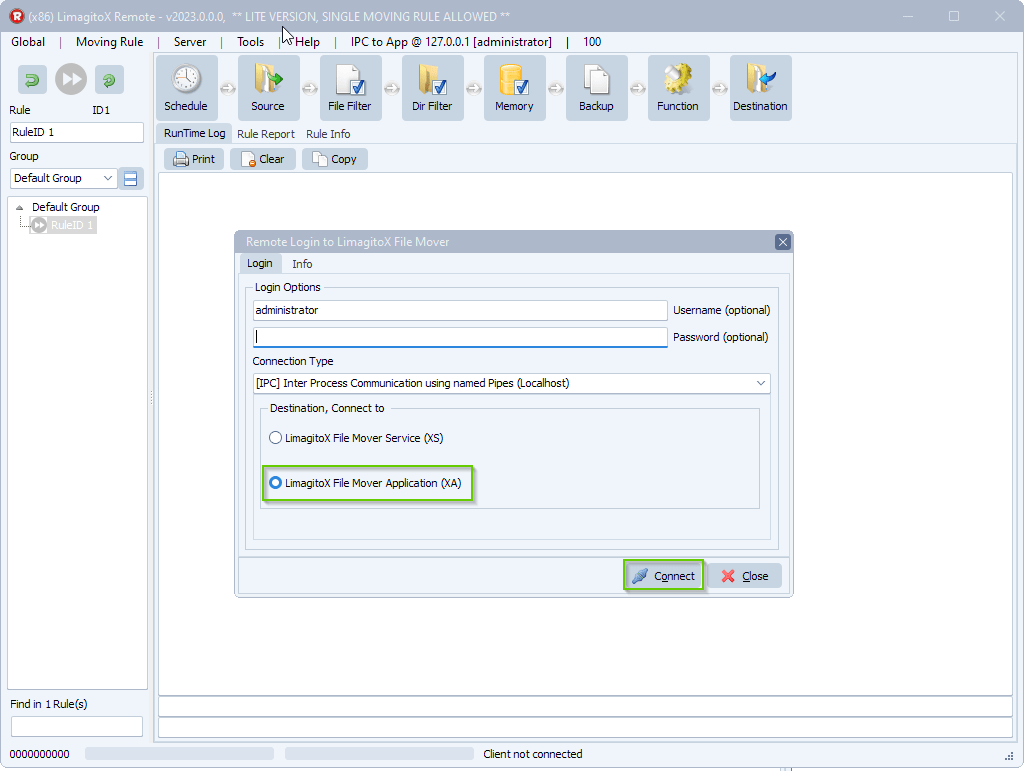
- In our case we need to select ‘LimagitoX File Mover Application (XA)’ as Destination to connect because we decided to use our file mover as Application.
- In case you installed our File Mover engine as a Windows service then you need to select ‘Limagito File Mover Service (XS)’ here.
Please <Connect>. Now our Remote tool will connect and communicate with the File Mover engine and we are ready to start with the configuration.
Limagito File Mover has the ability to run multiple tasks which are called ‘Rules’ in our tool. The free Lite version is limited to a single Rule but with all options available so you can fully test it. Our advice is to use a maximum of 400 Rules with a single instance of our File Mover tool running. You can install multiple instances if you need more Rules.
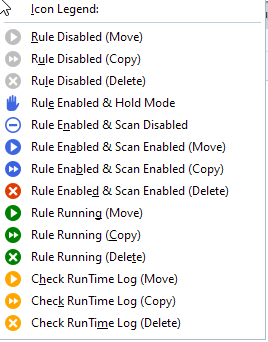
Each Rule has an icon which gives you the status of the Rule (task):
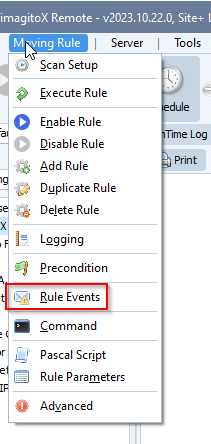
When you right click on a selected Rule, a popup menu will appear with all the options related to the selected Rule. Let us start with Enable and Disable Rule. These two will allow you to switch between disabled (grey icon) and enabled (blue icon) mode. In ‘disabled’ mode the Rule will do nothing. You can only adjust settings in disabled mode. After setup you need to switch to enabled mode.
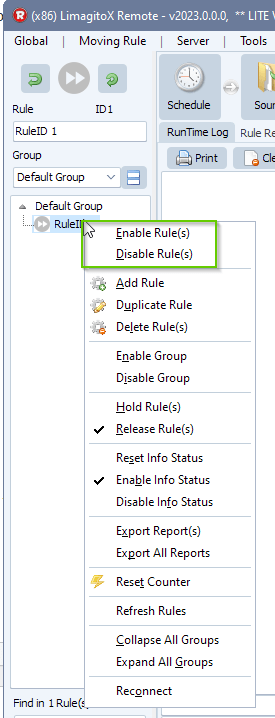
Switching between disabled and enabled mode is also possible by clicking on the ‘big’ icon which also gives the same status as the little icon next to the selected Rule.
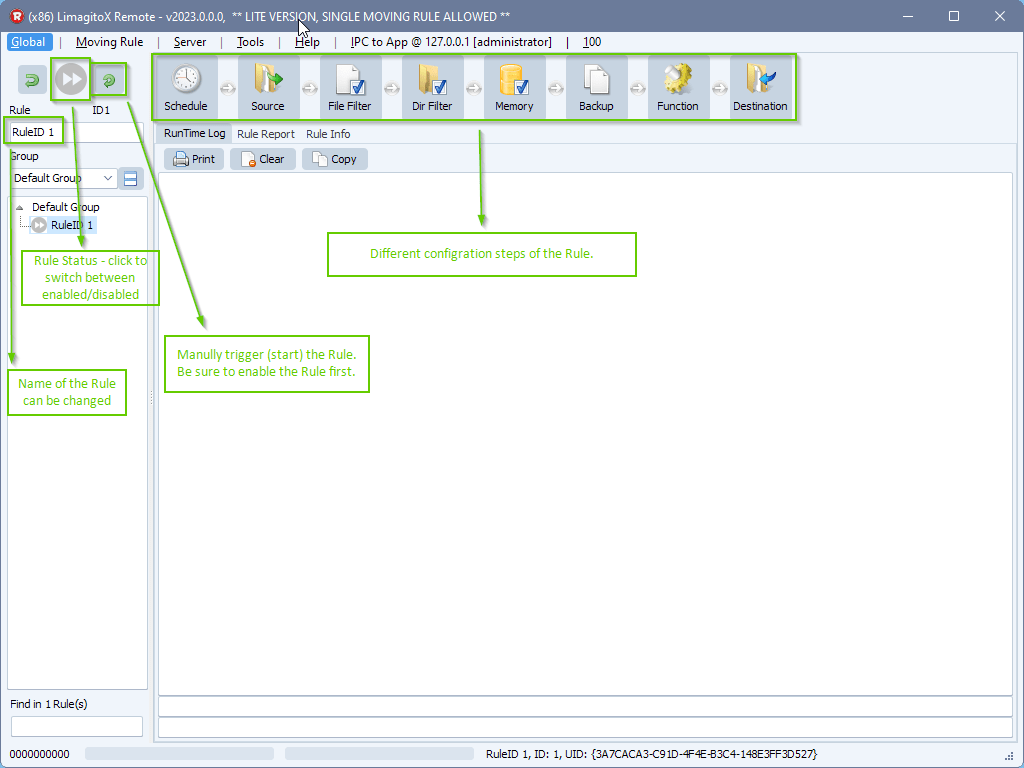
Let’s start with the different configuration buttons from left to right.
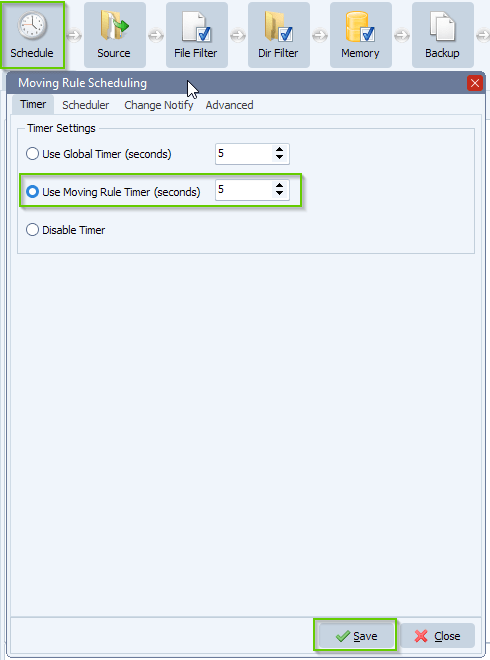
> ‘Schedule’ button:
- As default our File Mover is triggered/started every 5 seconds. There are a couple of options here but since this is just a basic file copy we’ll leave it like it is and just click <Save>.
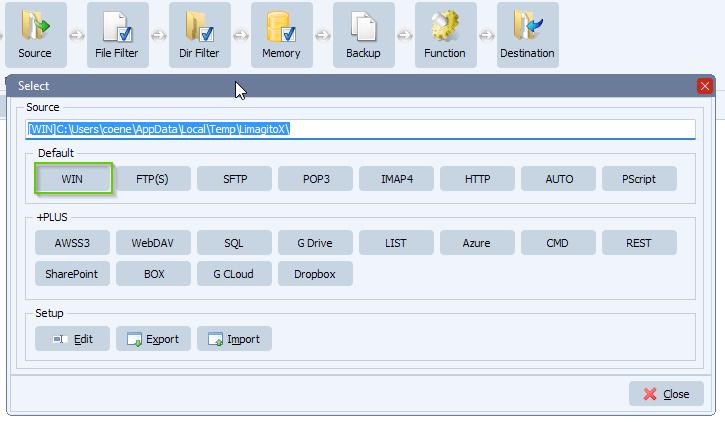
> ‘Source’ button:
- Since we want to copy files from a source to a destination, we’ll we need to setup a Source. We’ll use a Windows Folder as Source so please select <WIN>.
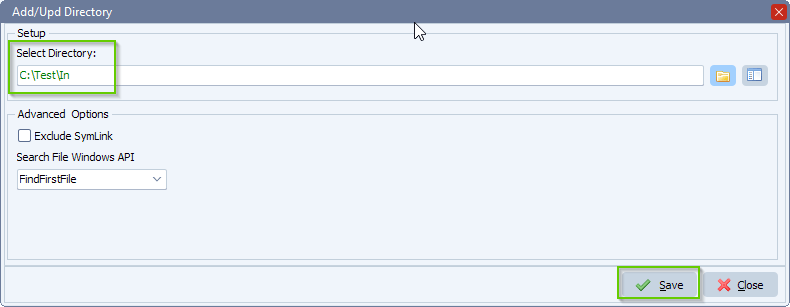
- Now you need to adjust the default Windows as Source folder using the little folder button on the right. Browse to the folder you want and click <OK>. You can use a local folder or network share.
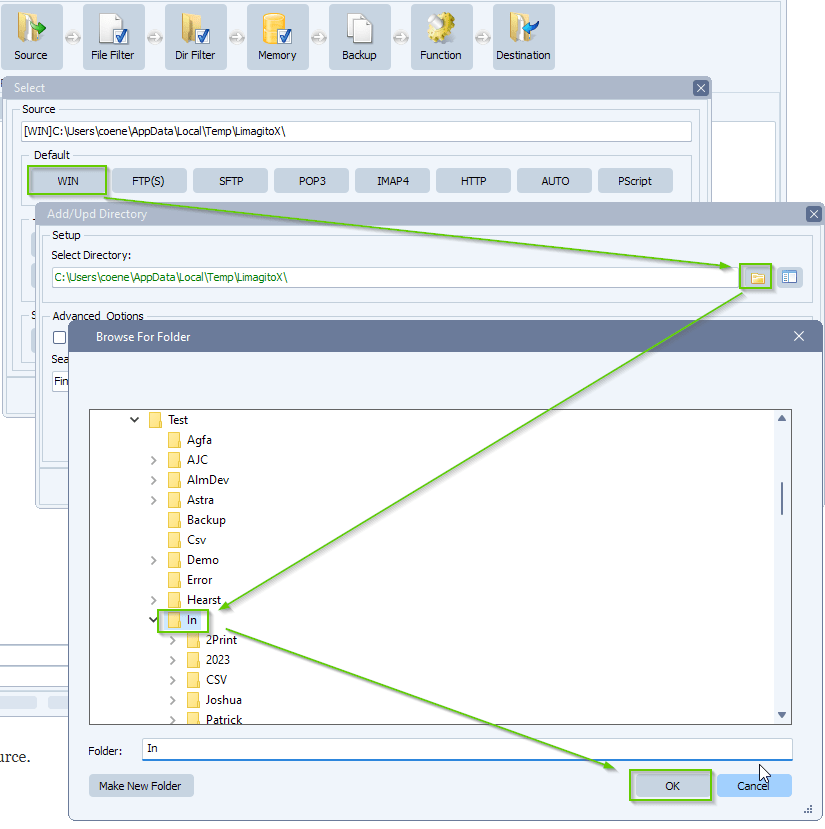
- Please click <Save> to confirm the selected folder as Windows Source.
> ‘File Filter’ button
- We’ll discuss this in a later blog post. Not need at this moment.
>’Directory Filter’ button
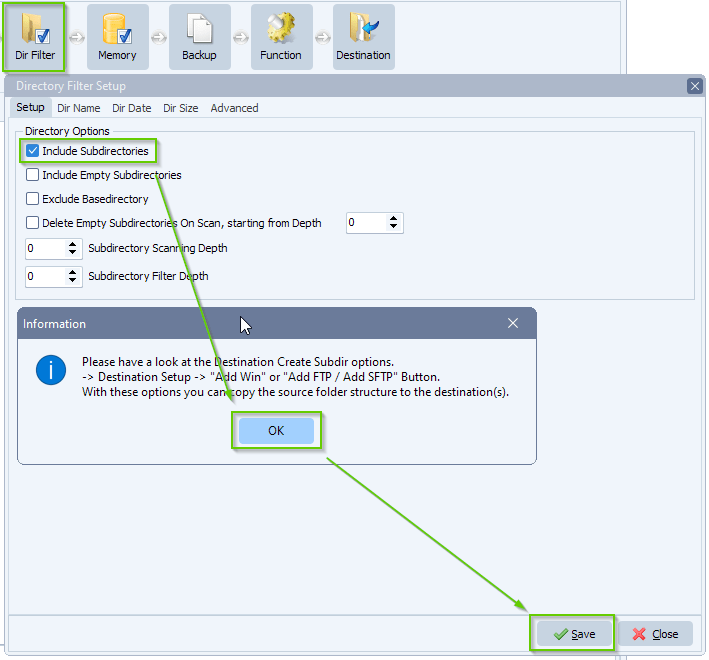
- In our example we also want the File Mover tool to scan subfolders of the root Source folder, so we enabled ‘Include Subdirectories’. An information messagebox will popup telling you that we will create these subfolders in the Destination too when a file is copied. Click <OK> and click >Save> next.
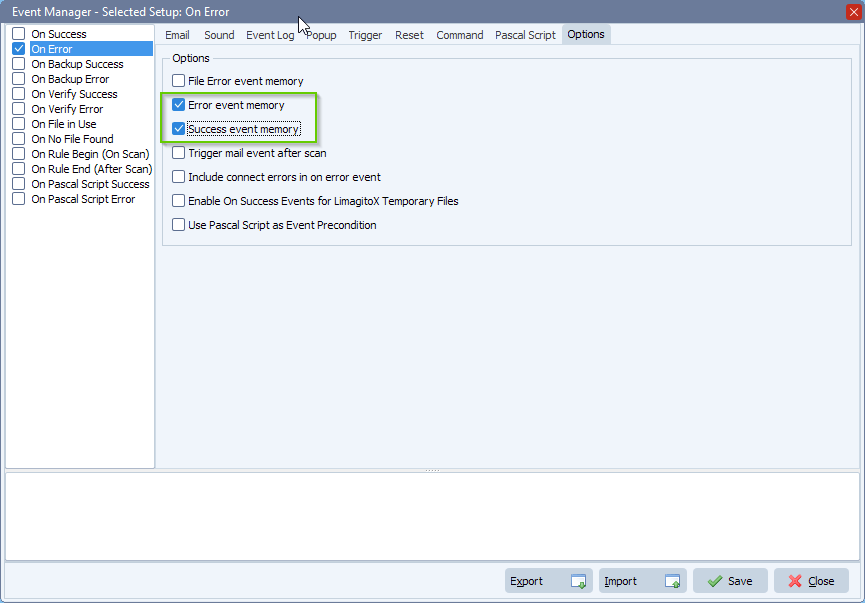
 > File ‘Memory’ button
- We’ll discuss this in a later blog post. Not need at this moment.
> ‘Backup’ button
- We’ll discuss this in a later blog post. Not need at this moment.
>’Function’ button
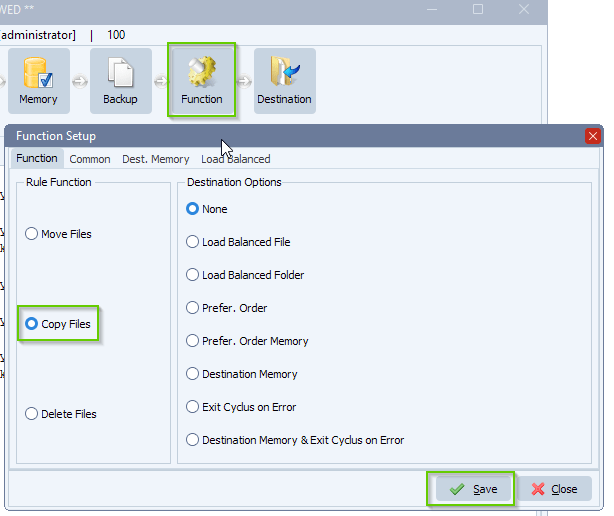
- In our example we’ll use the ‘Copy Files’ function which is selected by default. You can switch this to ‘Move Files’ if you want to do a basic Move operation of files. Please click <Save>.
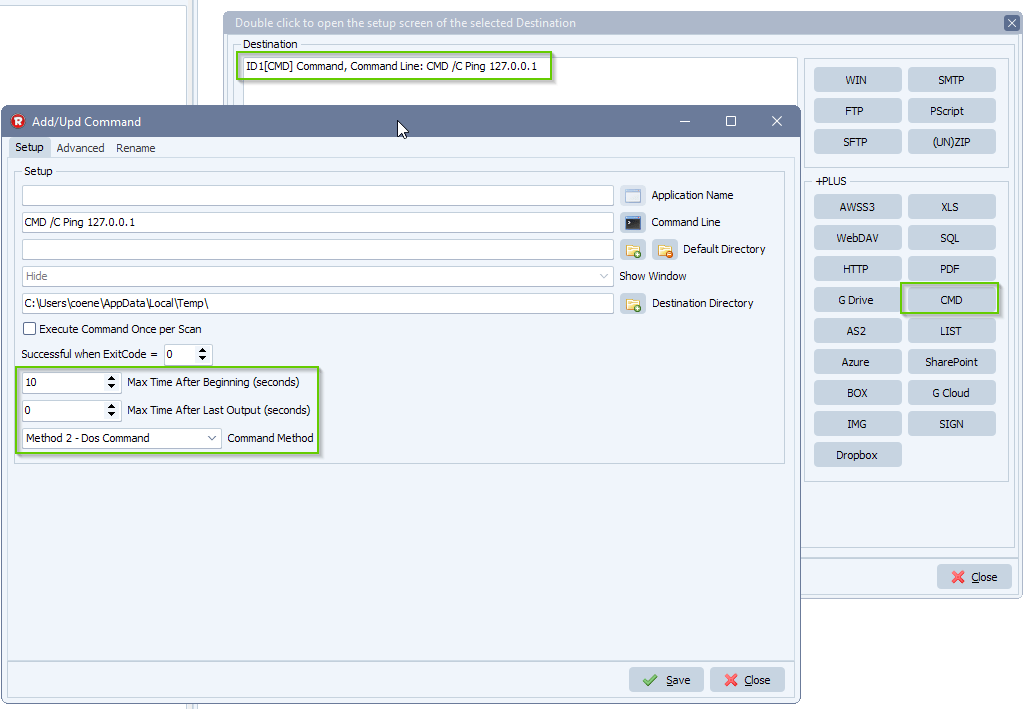
>’Destination’ button
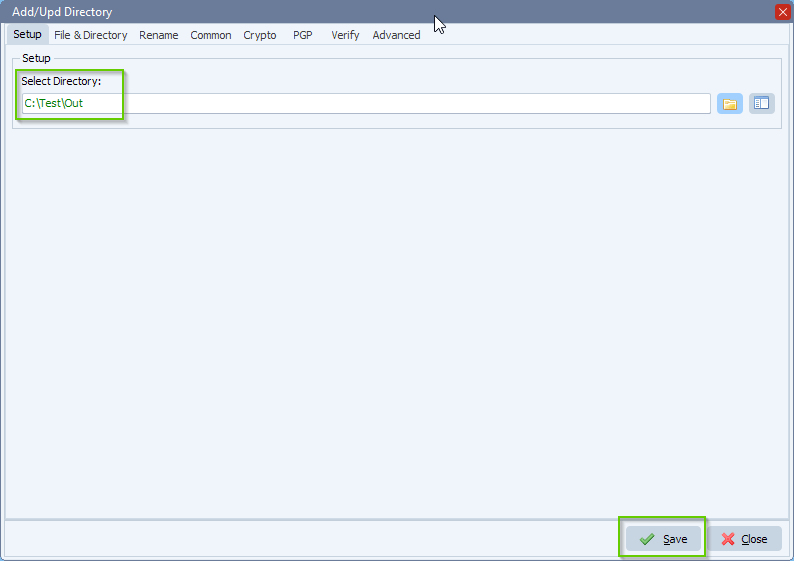
- Now it is time to set the Destination of the files. In our example we’ll use a Windows folder as Destination. By default no Destinations are available so please click on the <WIN> button on the right of your Destination setup screen. Next we’ll use the little folder button to select the Windows folder you want as Destination. You can use a local folder or network share. Click <OK> to confirm the folder selection.
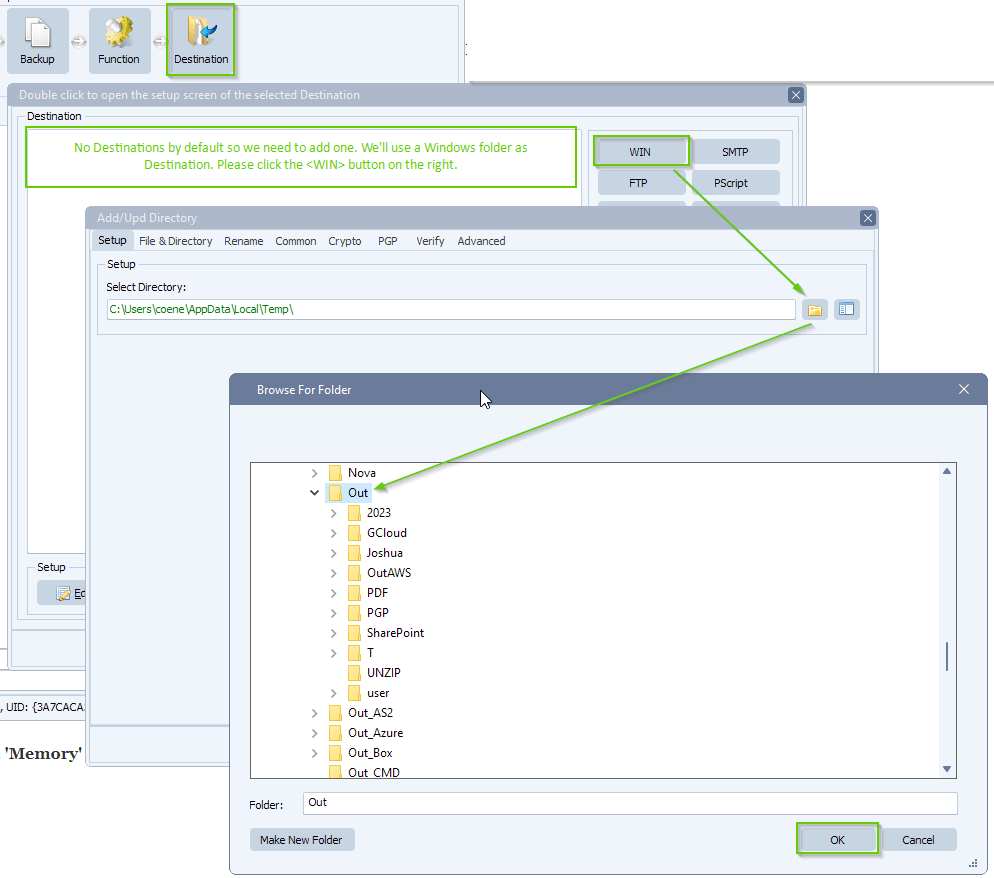
- Click <Save> to confirm the configuration.
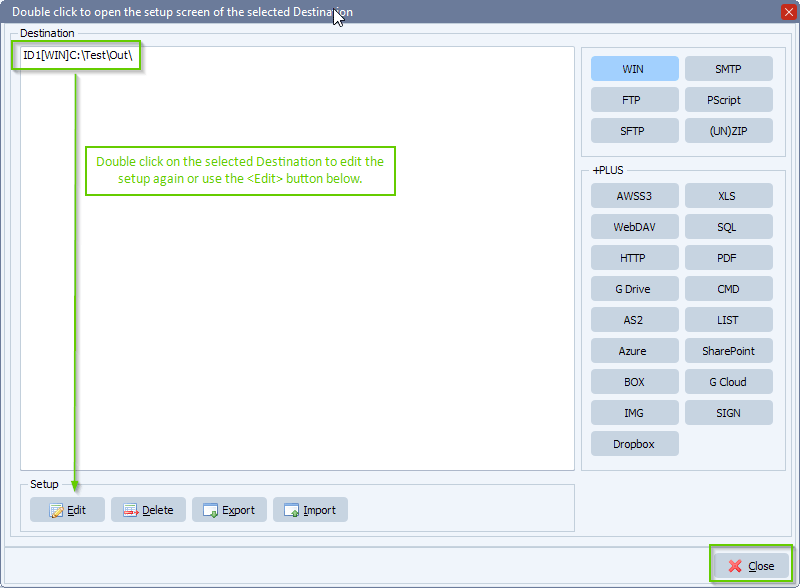
- The newly configured Windows Destination is now available. Please double click on the selected Destination to edit its setup. You can also select a Destination and click the <Edit> button.
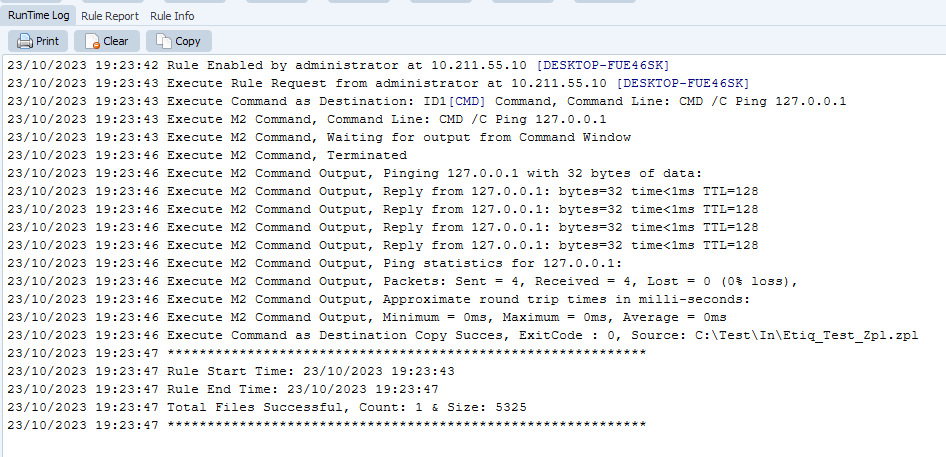
We are done with our basic setup. Now it is time to enable the Rule and check the RunTime Log. The RunTime log is a debug window with information about the Rule and this information is only available during the RunTime of the Remote tool. It is not meant for history logging (logging information about the Rule to a file). Here we have other options available.
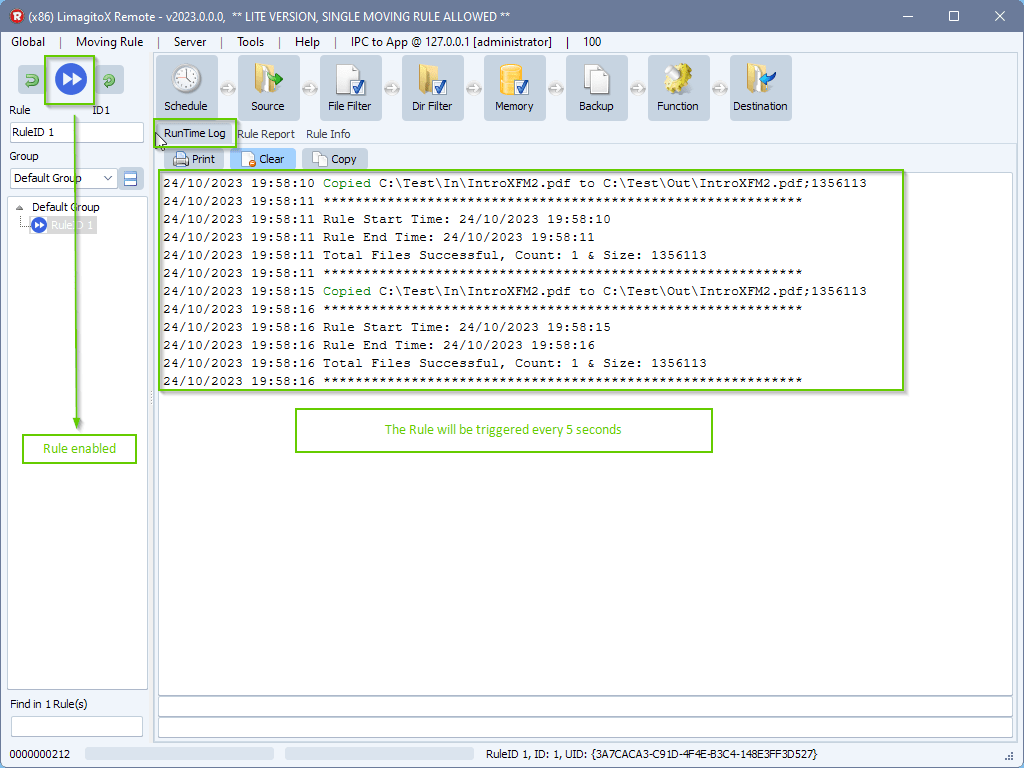
The Rule is triggered/started every 5 seconds and it will copy the same files over and over. This is not a real life example but please remember this is just a basic setup to give you an idea about our File Mover tool. So if you need any information or help, please let us know.
#copyfile #filetransfer #filemanagement
If you need any help with this ‘new command line tools’ option, please let us know.
Best Regards,
Limagito Team